Introduction
mSupply Mobile (Old Version)
Setting up mSupply Mobile on the device🔗
mSupply Mobile can be set up on your Android device by the mSupply Support Team or by your internal IT team with our support.
Choosing a device🔗
Preparing the device for mSupply is very dependant on factors including:
- The make of the device
- The version of Android running on it
- The details of how the organisation plans to manage devices and communicate with users
Please consult with the mSupply Foundation support team support@msupply.foundation on this.
-
A device is typically allocated to a facility, NOT an individual user. As such ALL operating system (i.e. Android) user accounts set up on the device must be for the site, not a person. This way, if a person leaves and another person takes over operation of the device, nothing should need to be changed.
-
Each device running mSupply Mobile will correspond to one mSupply Store.
Initialising the store🔗
After installing the mSupply Mobile app, you must initialise the data for the mSupply Store that the device is going to be used in. Most of the work is actually done by mSupply but you will need to set the store credentials on the device.
When first syncing the new device the amount of records to sync may be large (say around 50,000). This could take hours to sync, especially over a poor internet connection. For this reason it is possible for you to limit how many months of transactions and stocktakes you want to include. Limiting the sync date range below explains how to limit the sync date range if this is required.
When you Open mSupply Mobile, the first screen looks as follows:
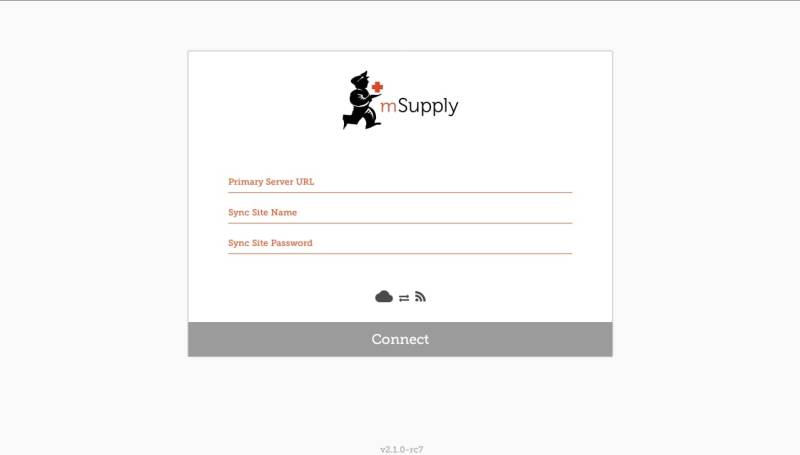
- PRIMARY SERVER URL: Please enter the correct URL for your mSupply Server, this uses HTTPS protocol for security. For example: https://your-organisation.msupply.org
- SYNC SITE NAME: The site name as configured on the primary server.
- SYNC SITE PASSWORD: The password for the sync site as configured on the primary server.
Once you have entered the information, click Connect to start sync.
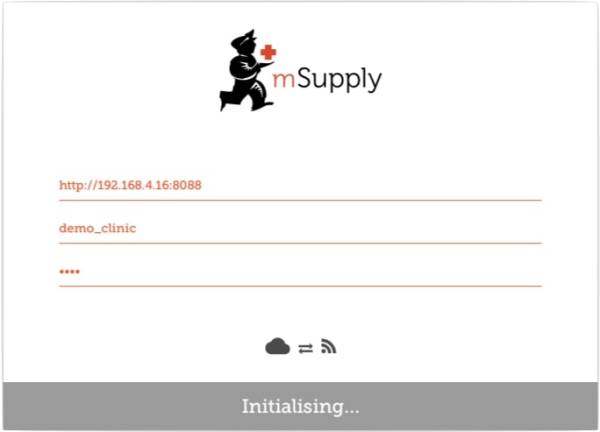
Initialisation can take between 1 and 15 minutes depending on the number of records on the server related to the site being synced.
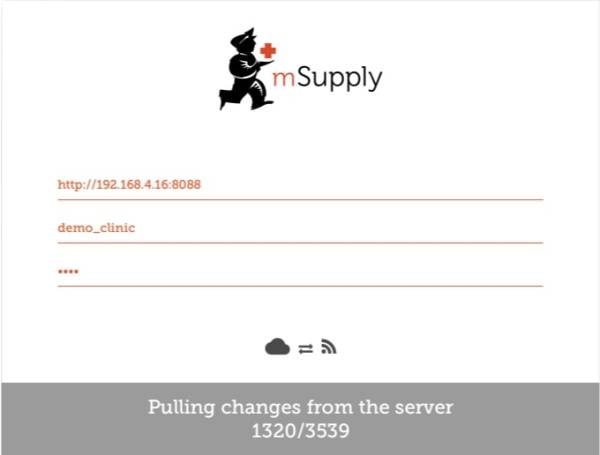
Once the server has found all the records to sync, mSupply Mobile will start pulling them between 20 and 500 records at a time depending on the connection speed. If the connection is lost or you close the app, you can resume sync where it stopped by entering the exact same details. Please note that if you enter different details, it will restart the sync completely!
Logging in to the store🔗
Once complete, you will be taken to the login screen. For guidance beyond here see the mSupply Mobile user guide.
Limiting the sync date range🔗
When first syncing the new device the amount of records to sync may be large (say around 50,000). This could take hours to sync, especially over a poor internet connection. For this reason it is possible for you to limit how many months of transactions and stocktakes you want to include.
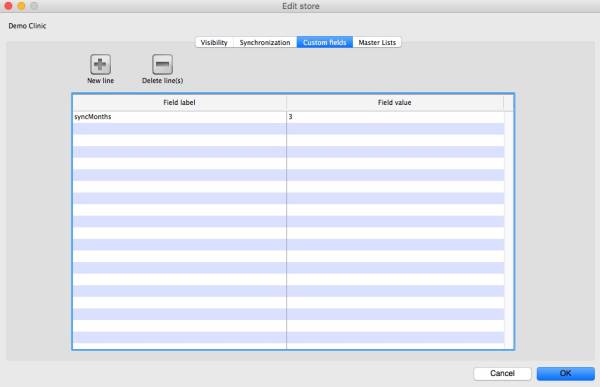
- Change the store Synchronisation type from collector to active or none to unlock editing custom fields.
- Add a new line setting the Field label to syncMonths and the Field value to the number of months you wish to include.
- To edit the custom field double-click on the line.
- Change the store Synchronisation type back to collector
Now whenever a sync is carried out the store will only sync transactions and stocktakes for the previous X months.