Customer Requisitions
Ordering from a Supplying Store🔗
When a customer order stocks from you, they create a Supplier Requisition in their system. This will appear as a Customer Requisition in your system.
Customer Requisitions can ONLY be created by an mSupply store customer. They can not be manually created in the Supplying store.
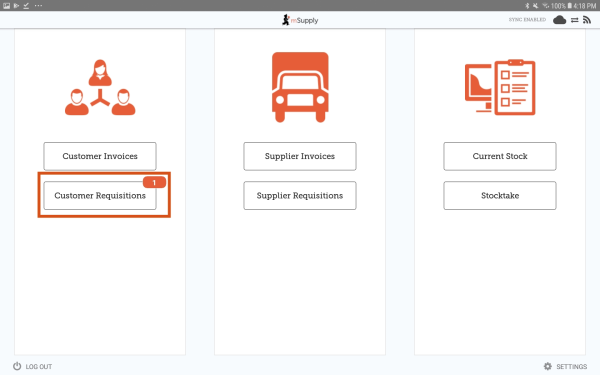
On the home screen, an orange badge on the Customer Requisitions button indicates how many pending Customer Requisitions you have, if any (in this example, there is one pending Customer Requisition).
Tap on the Customer Requisitions button to review the Customer Requisitions.
Current Customer Requisitions are displayed by default. You can review finalised requisitions by tapping on Past.
Tap on the Customer Requisition you want to review (in this example, we are going to tap on the Requisition ID 7).

Customer Requisiton Review🔗
You can now review the Customer Requisition before finalising it.
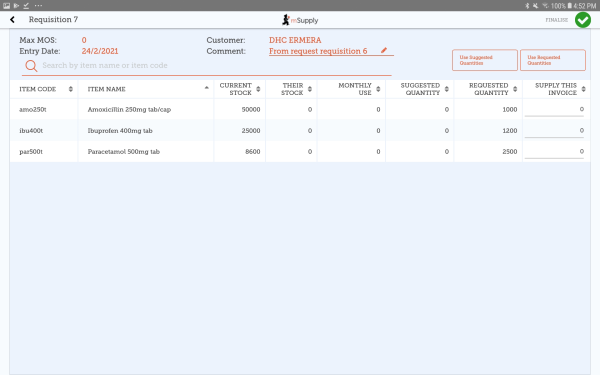
- Max MOS: The number of months worth of stock to supply
- Current Stock: this will be auto-filled with your current quantity of stock for this item.
- Their Stock: this will be auto-filled your customer current quantity of stock for this item.
- Monthly Use: calculated as average monthly consumption=(outgoing stockaverage number of days a month)/(days in period-days out of stock).
- Suggested Quantity: calculated as suggested quantity=(monthly consumptionmonths to supply)-stock on hand*.
- Requested Quantity: this will be auto-filled by the quantity requested by the customer.
- Supply this Invoice: editable cell for the current time period. You can also use the auto-fill buttons in the header:
- Use Requested Quantities: auto-fills the supply this invoice column for all items with the value from the requested quantity column.
- Use Suggested Quantities: auto-fills the supply this invoice column for all items with the value from the suggested quantity column.
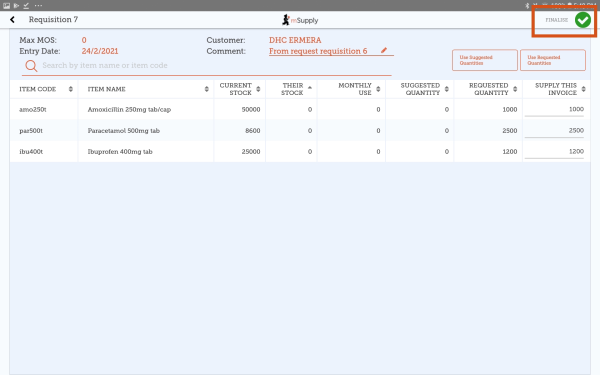
You can use any of the above options or you can manually enter a quantity in the column Supply this invoice.
Selecting either of the auto-fill buttons will overwrite all values in the supply this invoice column.
When you are completely sure that everything is correct, tap the Finalise button, then Confirm.
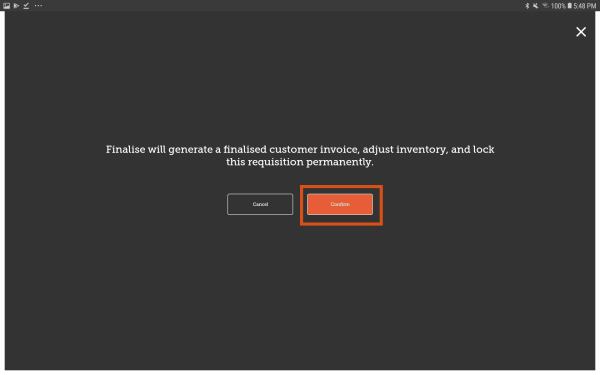
Finalising the requisition will also generate a finalised customer invoice.