mSupply Mobile Demo
We now have a server setup for users to try out the mSupply mobile application.
Firstly, download and install the mobile app from here: Mobile App
The mSupply Mobile demo site is now hosted on: https://demo.msupply.org
Request a Demo Store🔗

After starting mSupply mobile on the Android tablet, you will see a screen like the above for the first time. Click on the "Request a Demo Store" button to request credentials for the new store.
Enter your details🔗
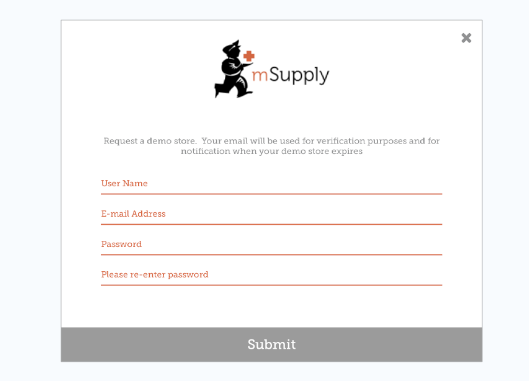
On the above screen a unique user name, a valid e-mail address and password are required. Please note down the password as this will be needed later. Our mSupply mobile username and password guidelines are available here.
Check your e-mail🔗
The mSupply Demo server will e-mail you and expect you to click the link to activate your Mobile store.
Please check your junk e-mail if you do not see the e-mail.
Setup your Mobile Store🔗
You should now be able to setup your store.
- Your store name will be in the format: UserName_store. Note that the demo server adds the "_store" to signify store setup.
- The password for the store credential will be in the format: "UserName_store_Site". Note the capital letter in the text "Site".
- The URL must be: https://demo.msupply.org
If the credential of your mobile store has been entered properly then your table will start to retrieve data from the Demo server. Please wait until the procedure is finished. We expect this to take no more than 5 minutes.
Login as a User🔗
You may log in as a user once the store setup has been completed. You will be shown a login window.
- This time the user name is what you initially typed. So just UserName.
- Password is what you originally typed when requesting a Demo site.
Using the module🔗
Once setup is complete, you'll end up with a mobile navigation screen that looks like this:
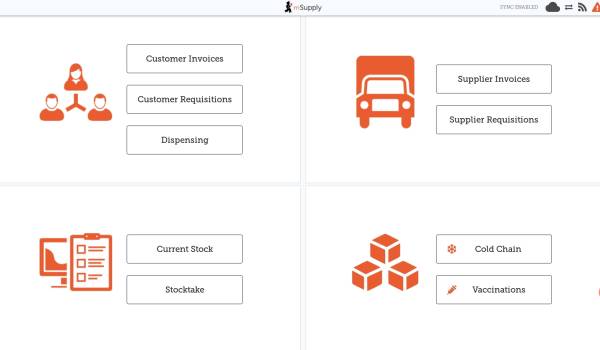
Vaccination module🔗
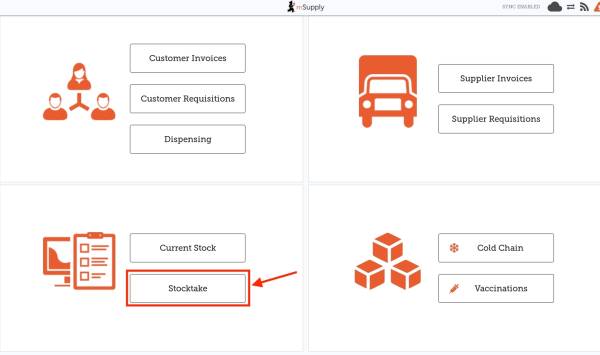
The vaccination module only works after you have stock. So, to see how the Vaccination module works, you must carry out a stocktake to add some stock.
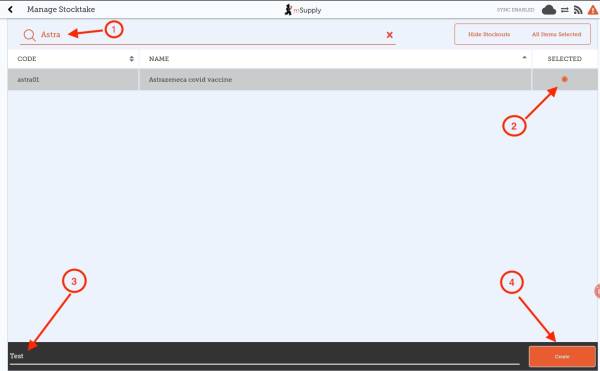
- Click on Stocktake
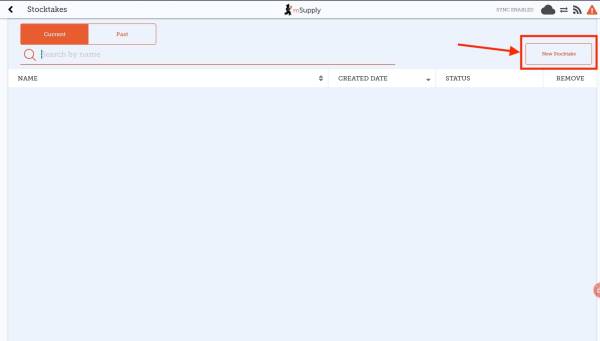
- Create a New Stocktake by clicking on New Stocktake
- Search for the item Astrazeneca covid vaccine from the list
- Select it
- Give your stocktake a name at the bottom left
- Click on Create
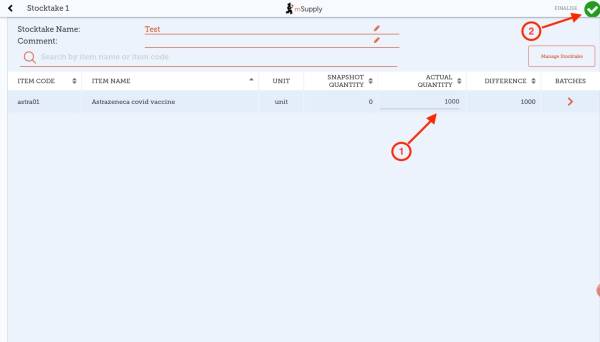
- Enter any value (greater than 0) in the Actual Quantity column
- Tap the FINALISE icon.
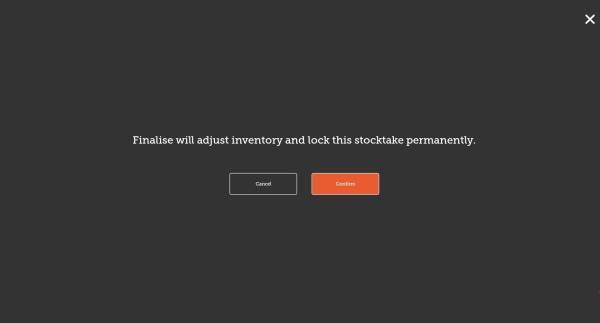
- Click Confirm
-
Go back to navigation screen and click on the Vaccinations module.
-
Now you should be able to see the Search Patient lookup window as the first step.
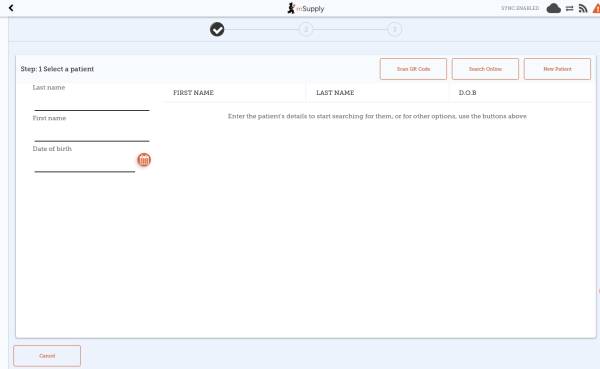
You may now search a patient and carry out vaccinations.
Good luck! :-)