Stocktakes
Counting and adjusting stock
mSupply will automatically keep track of your stock levels for you, as you receive and distribute it. But sometimes data gets entered incorrectly or stock goes out without anyone making an entry in the system.
Of course, we try not to let that happen but, if it does happen, we can make corrections. The easiest way to correct mistakes is to do a Stocktake.
In mSupply, you can easily do a stocktake for:
- A full inventory
- A limited range of items
- A single item
Viewing Stocktakes🔗
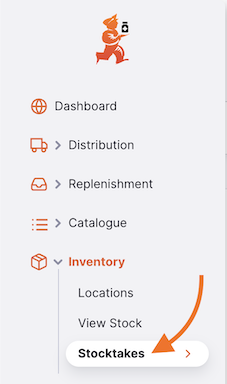
To view your stocktakes, go to Inventory and then Stocktakes in the navigation panel:
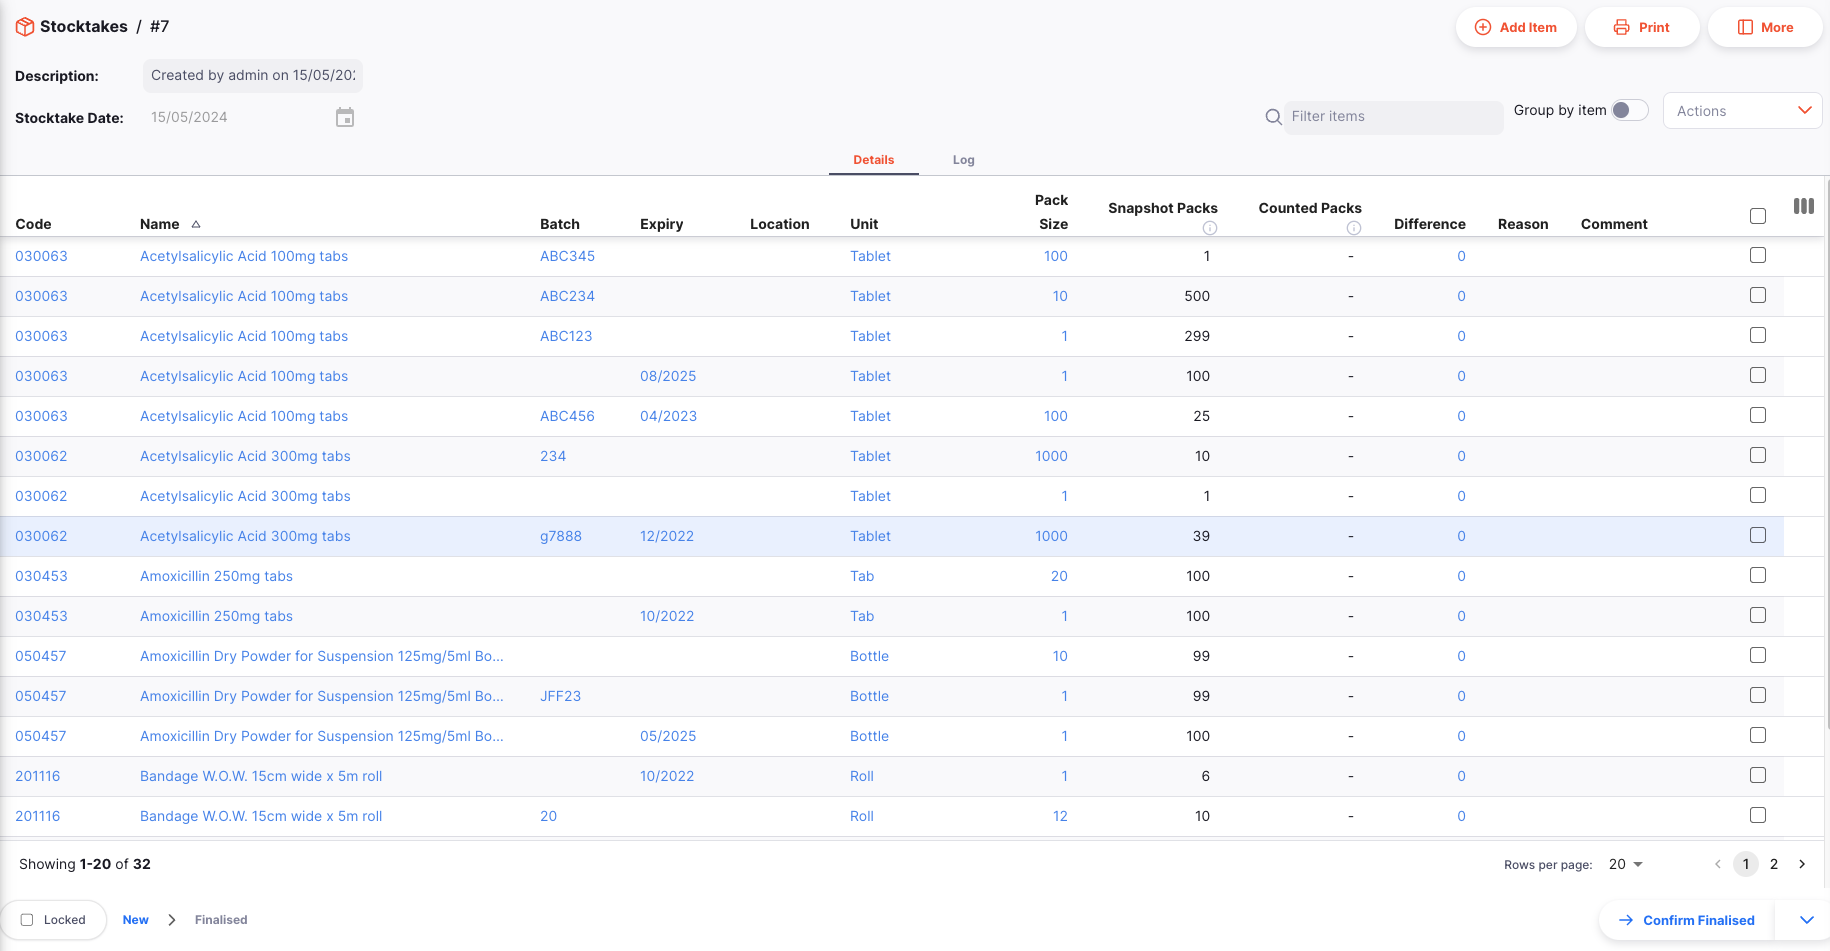
This brings up a list of all your stocktakes:
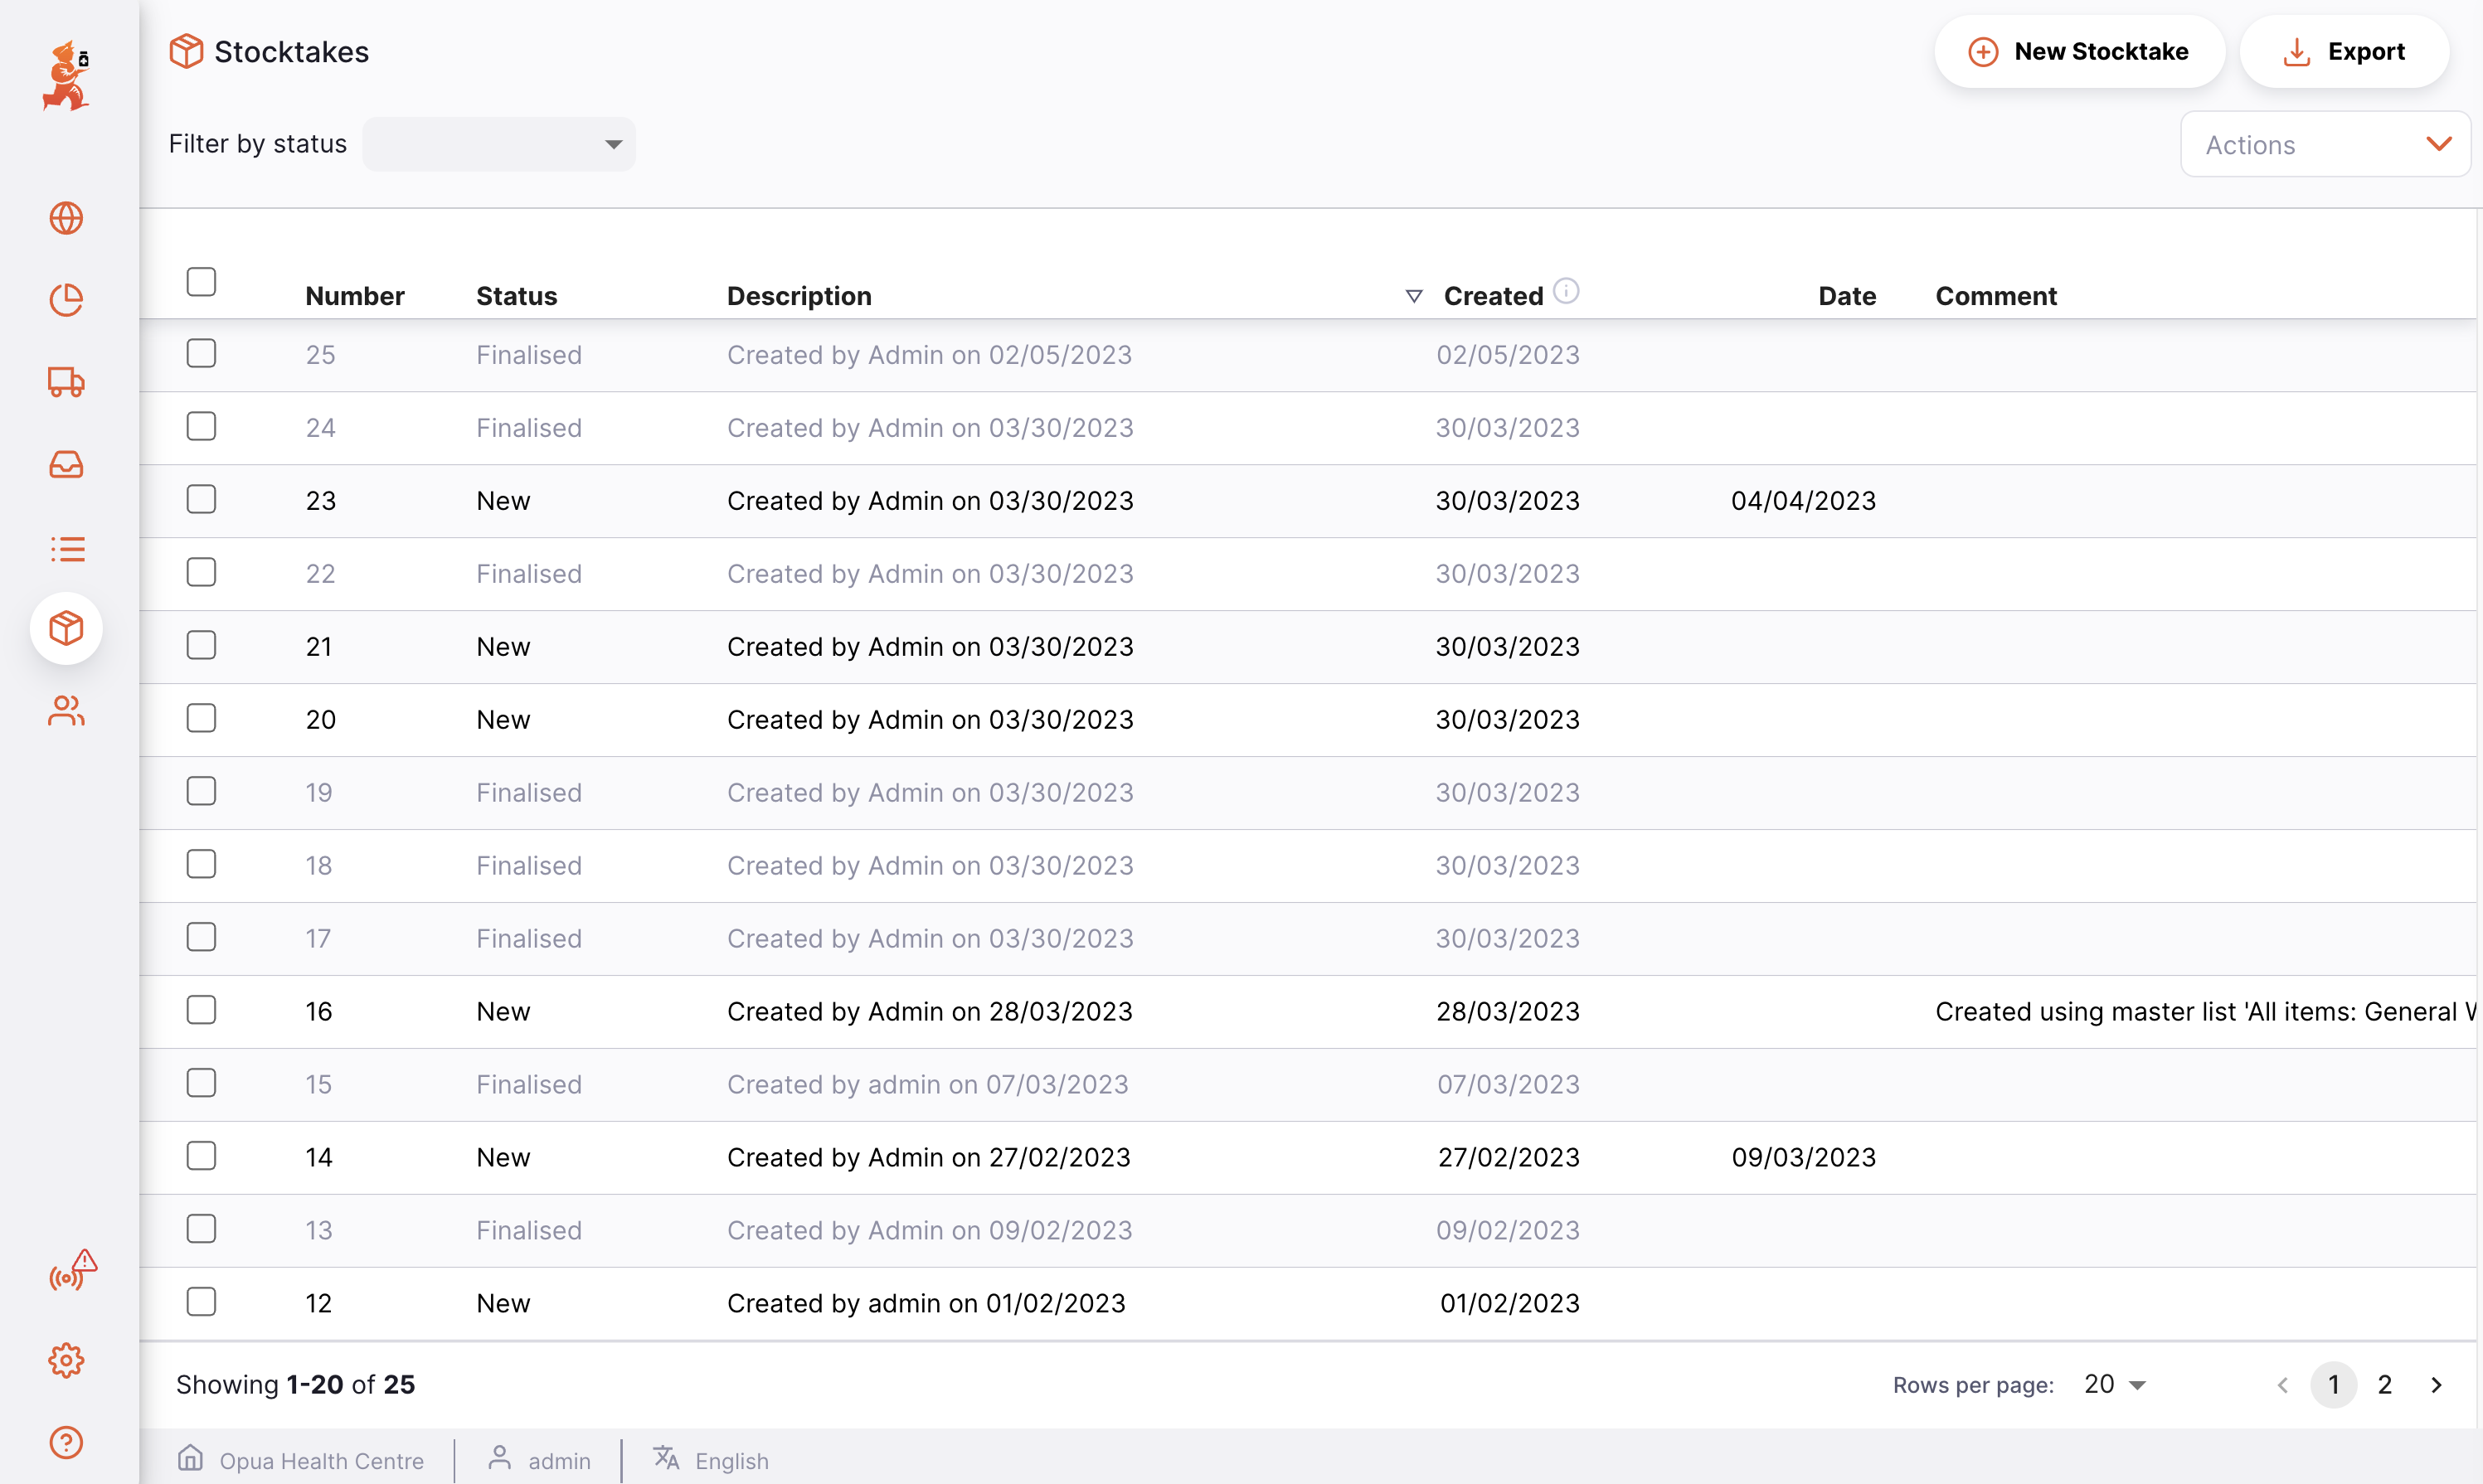
For each stocktake you can see:
| Column | Description |
|---|---|
| Number | The number of the stocktake |
| Status | The status of the stocktake. New: a currently active stocktake. Finalised: stocktake has already been performed. You can no longer edit it |
| Description | The description of the stocktake (e.g. March Stocktake) |
| Created | The date the stocktake was created |
| Date | The date the stocktake was done |
| Comment | Stocktake comment if any |
NEW, and it can even be quite dangerous, especially if you are about to create a new stocktake containing the same items. If time has passed since the stocktake was created, then the snapshot and actual quantities are almost certainly incorrect. For good housekeeping reasons, it is good practice to delete old NEW stocktakes.
Creating a New Stocktake🔗
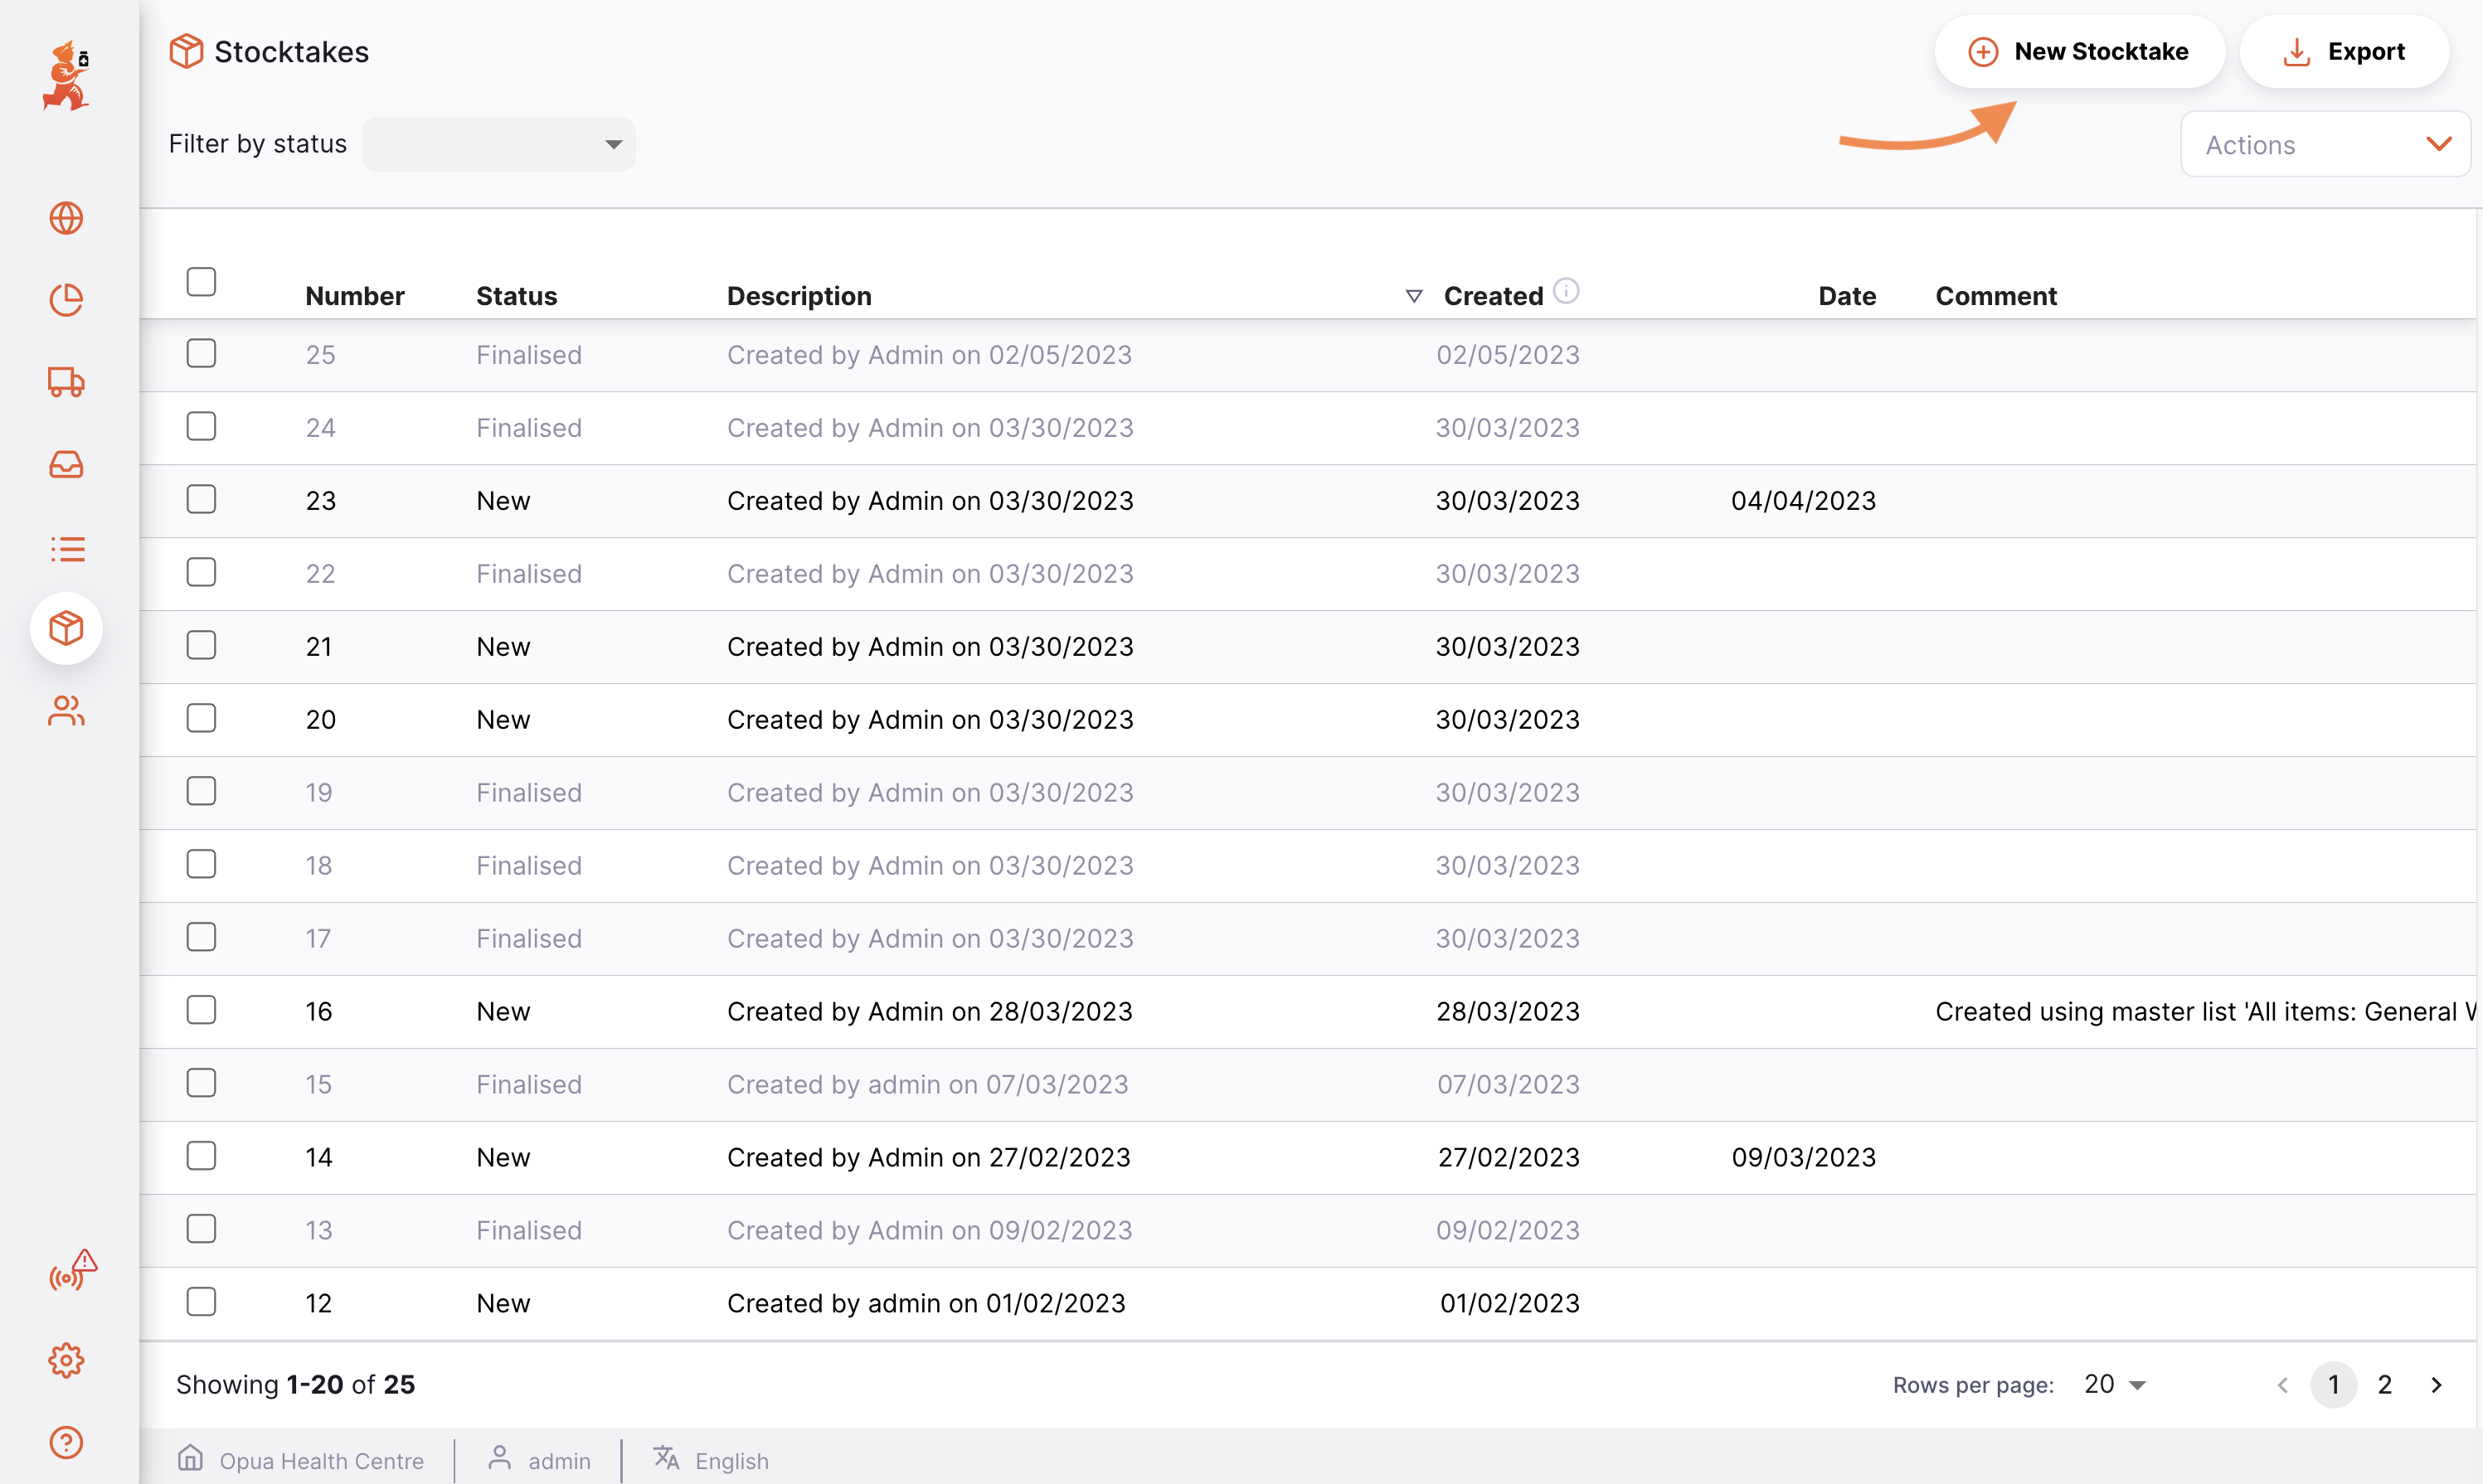
Let's start a new stocktake. To do so, tap on the New Stocktake button in the right corner of the screen.
A window appears, where you can opt to create a stocktake based on items in a master list, items in a particular location, items that are in stock, expiring items, or an empty stocktake:
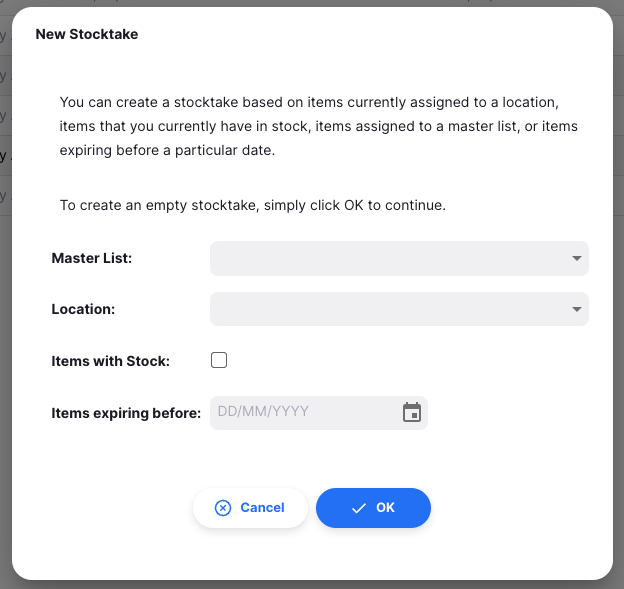
Click on OK when you have selected the option you would like.
The stocktake will then be created, and existing stock lines will be used to populate the values for batch, expiry, pack size and snapshot number of packs. The lines show as light blue, and will change to black when a value is entered for the counted quantity.
Entering counted packs🔗
To start entering stocktake data for an item, click on the stocktake row you would like to edit. A window appears, where you can enter the counted number of packs. You can also update other data from this window, like the expiry date, pricing or location information for a particular batch.
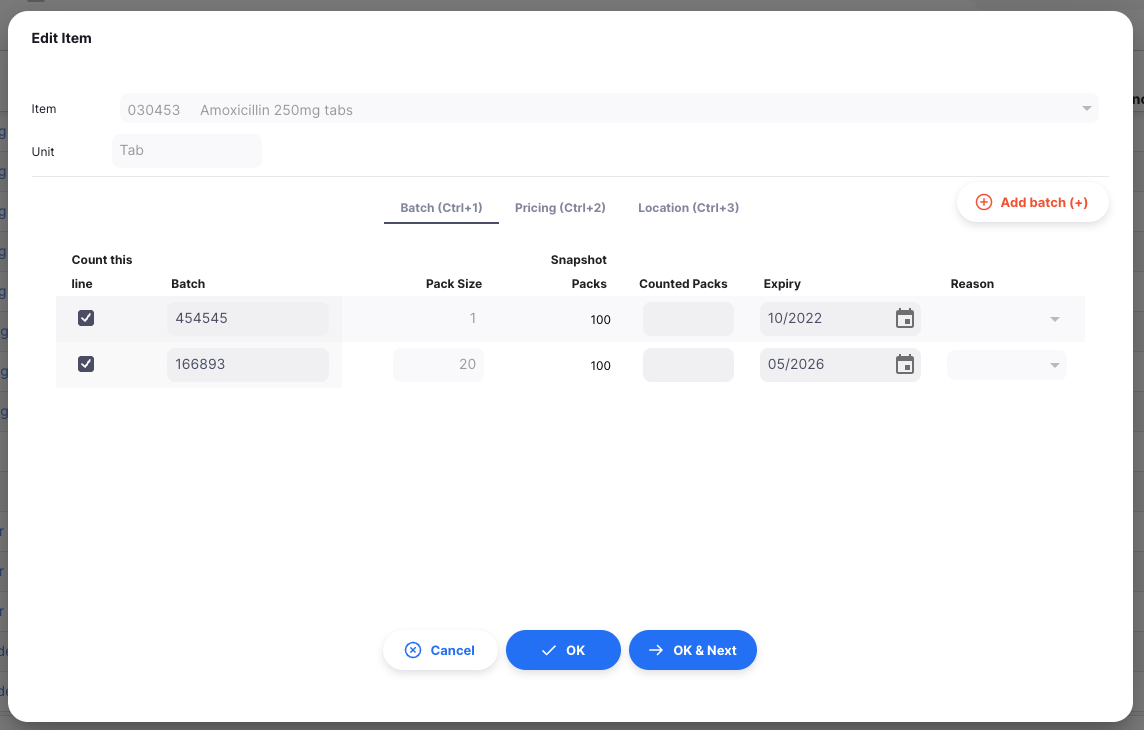
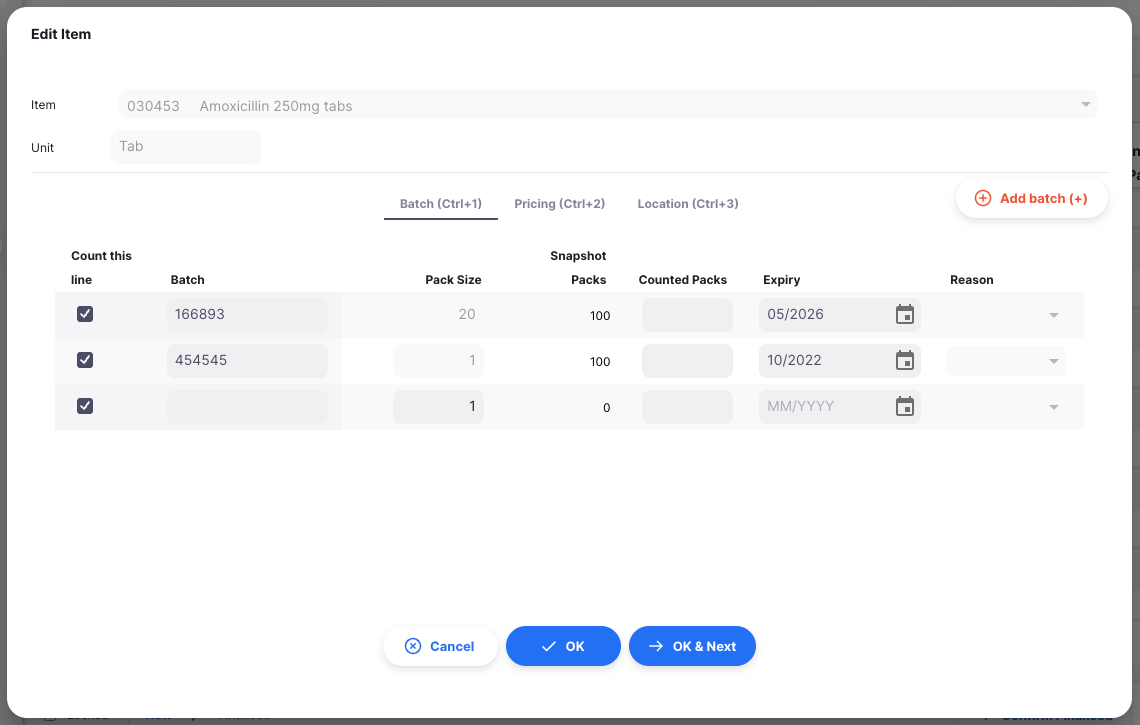
You can use the Add batch (+) button to add more batches of a particular item during your stocktake. This will add a new blank row, where you can enter batch information and the counted number of packs.
Entering reasons🔗
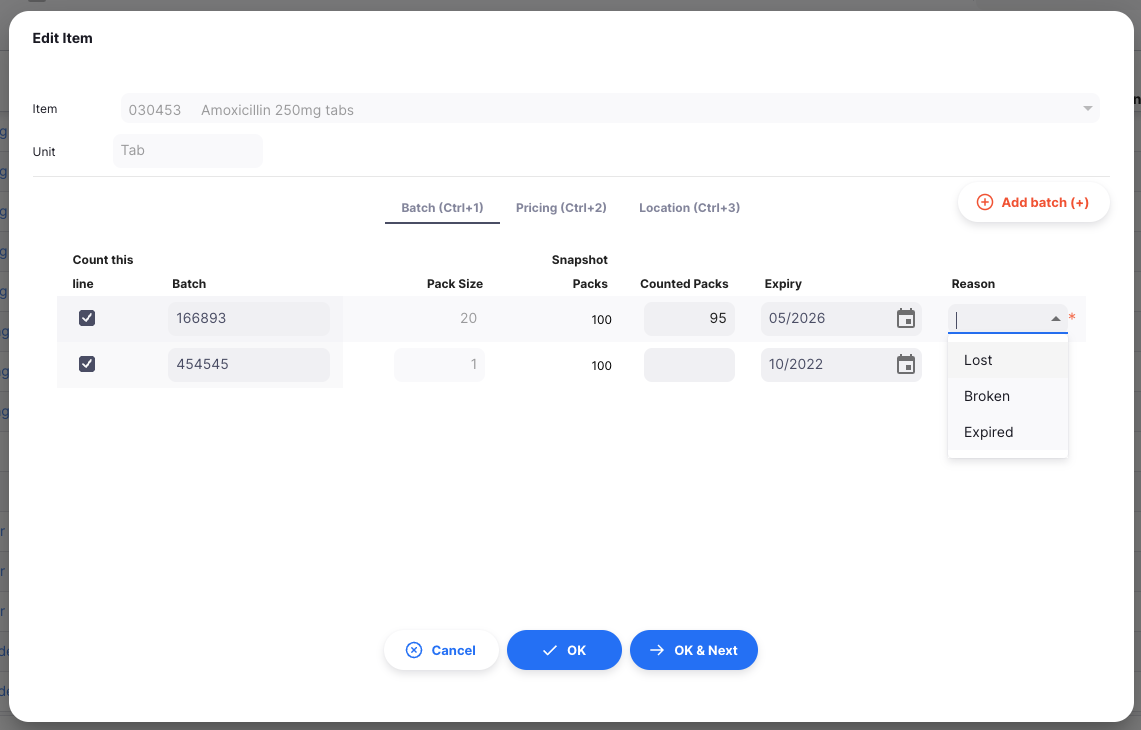
If you have inventory adjustment options configured in your central server, then you are required to enter a reason when the counted packs specified does not match the snapshot packs.
For example, after entering 95 for the counted quantity for Amoxicillin 250mg tabs - batch 166893, a red * will appear to the right of the Reason input, and you will need to select one of the negative inventory adjustment reasons:
If you try to save the stocktake row without entering a reason you will see an error:

and the stocktake row that requires a reason to be entered will be highlighted in red as shown below.

Adding items🔗
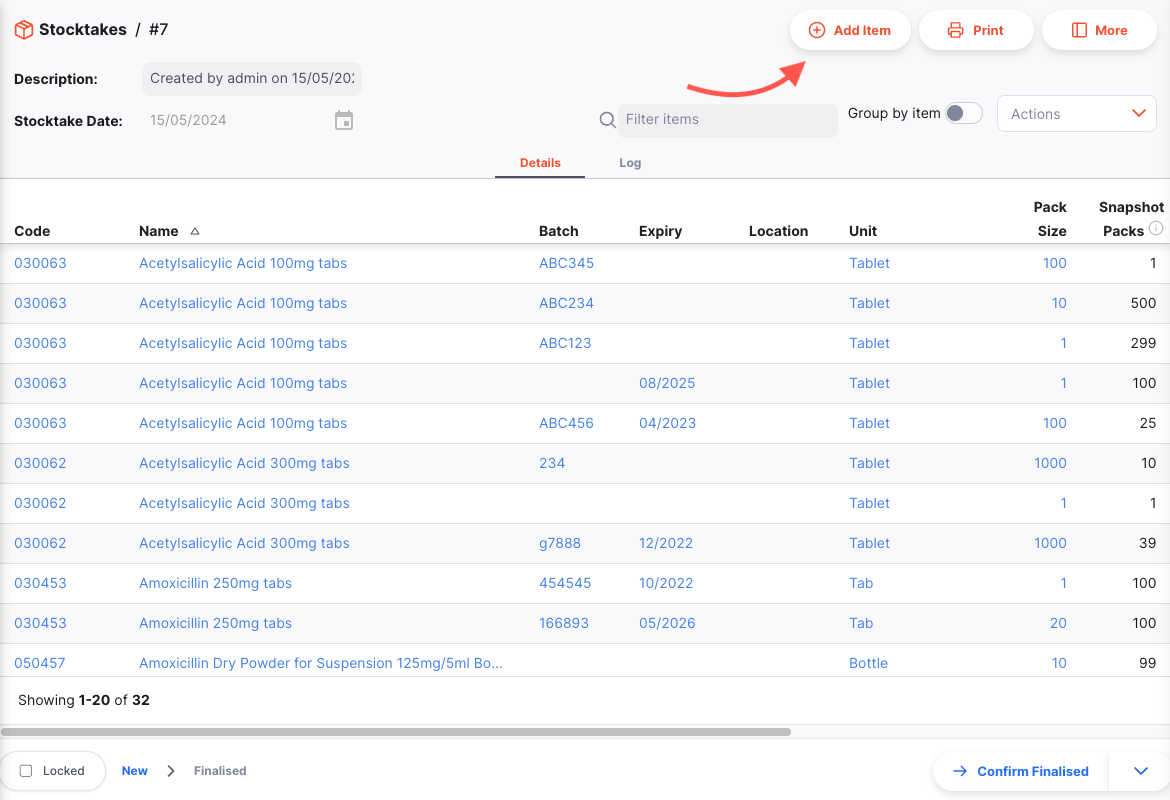
If an item was not included in the generated stocktake rows when you created your stocktake, you can add it manually by clicking the Add Item button in the top right of your screen.
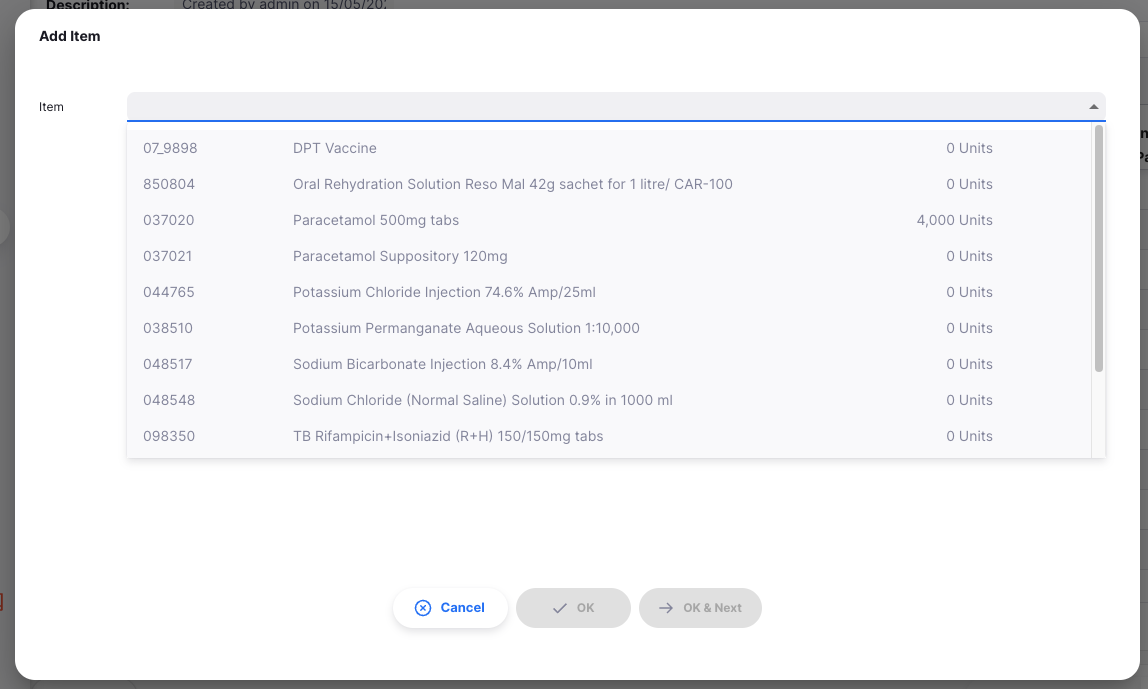
An Add Item window will appear, where you can select the item you would like to add to your stocktake.
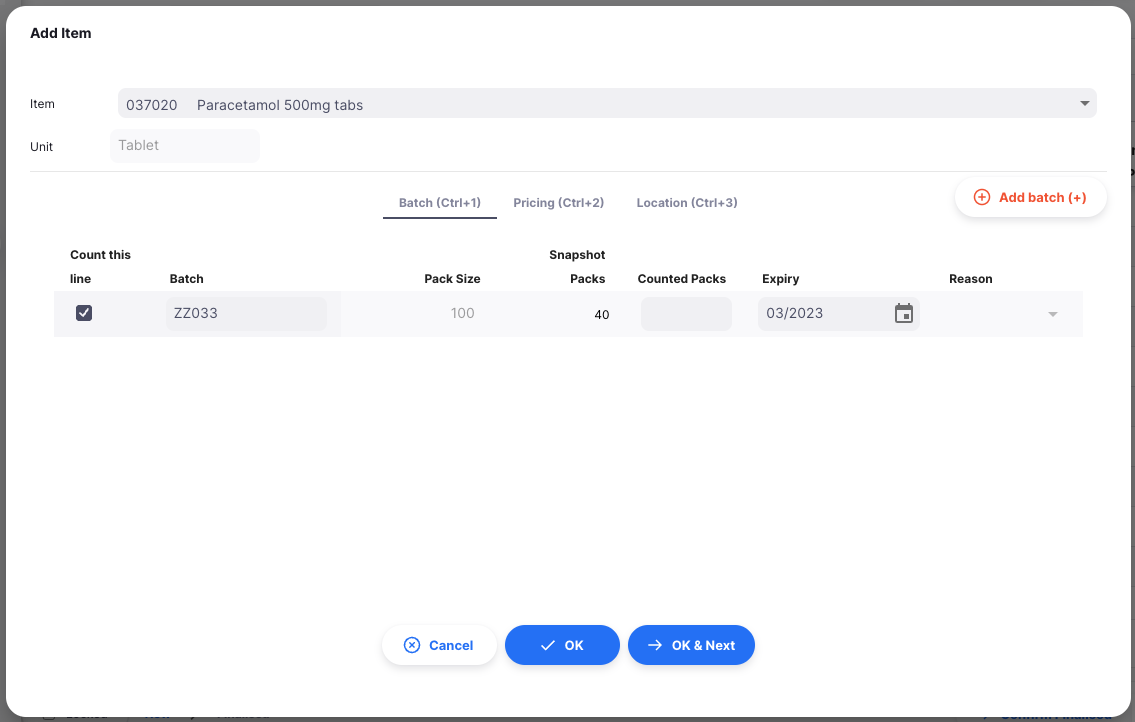
Once you select an item, stocktake rows will be generated for any batches of that item with stock, and you can carry out your stocktake data entry as above.
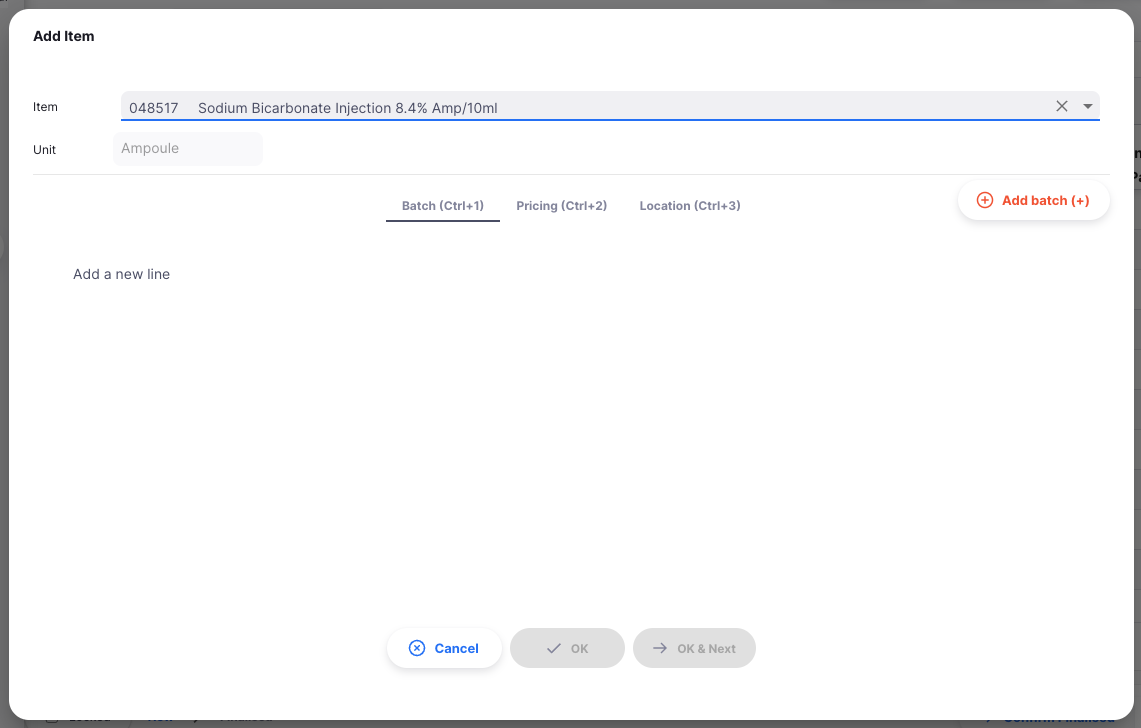
If there are no batches with stock for that item, your batch list will be blank. The Add batch (+) button will add a new blank row, where you can enter batch information and the counted number of packs.
Printing Stocktake sheet🔗
When viewing a specific stocktake, simply click the Print button which is on the top right of the page.
When printing, a PDF file is generated for you, which will then open in a new browser tab. This can then be printed using your browser by clicking print or using control+P (if using windows) or cmd+P keys on your keyboard (if using a mac).
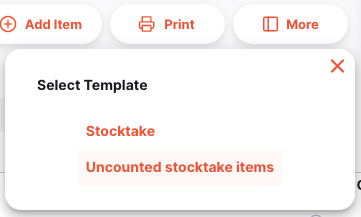
This will either:
- Create a PDF immediately, if there is only one
Stocktakereport configured - Show a menu of possible reports for you to select from before creating a PDF. This will happen if there is more than one report defined for the
Stocktakereport type.
Filtering lines🔗
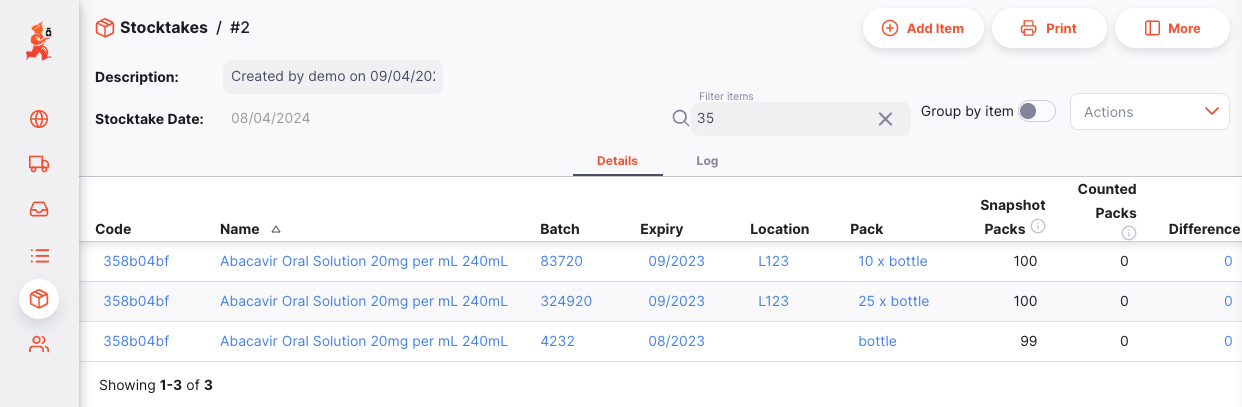
The list of stocktake lines can get very long if you have a large stocktake. To make working with the stocktake easier to manage, you can filter the list by item name or code.
In the Filter items search field, simply enter some or all of an item code:
Or, enter some of an item's name:
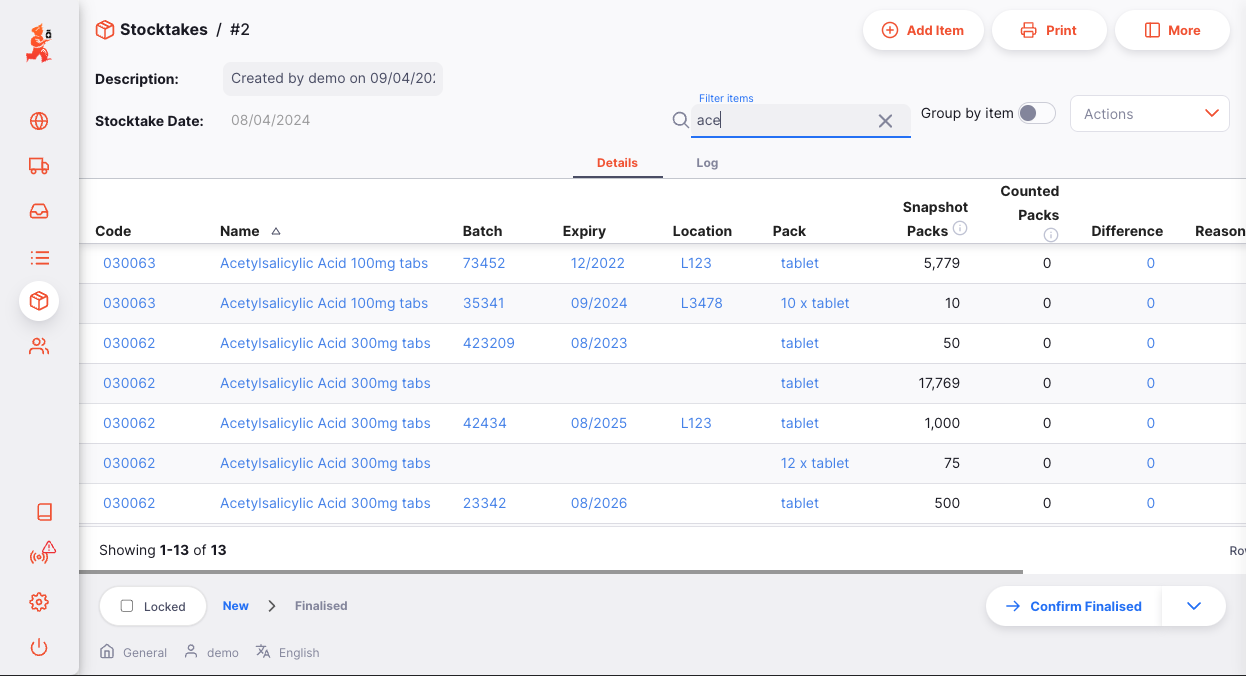
You can also group the lines by item by enabling the Group by item switch.
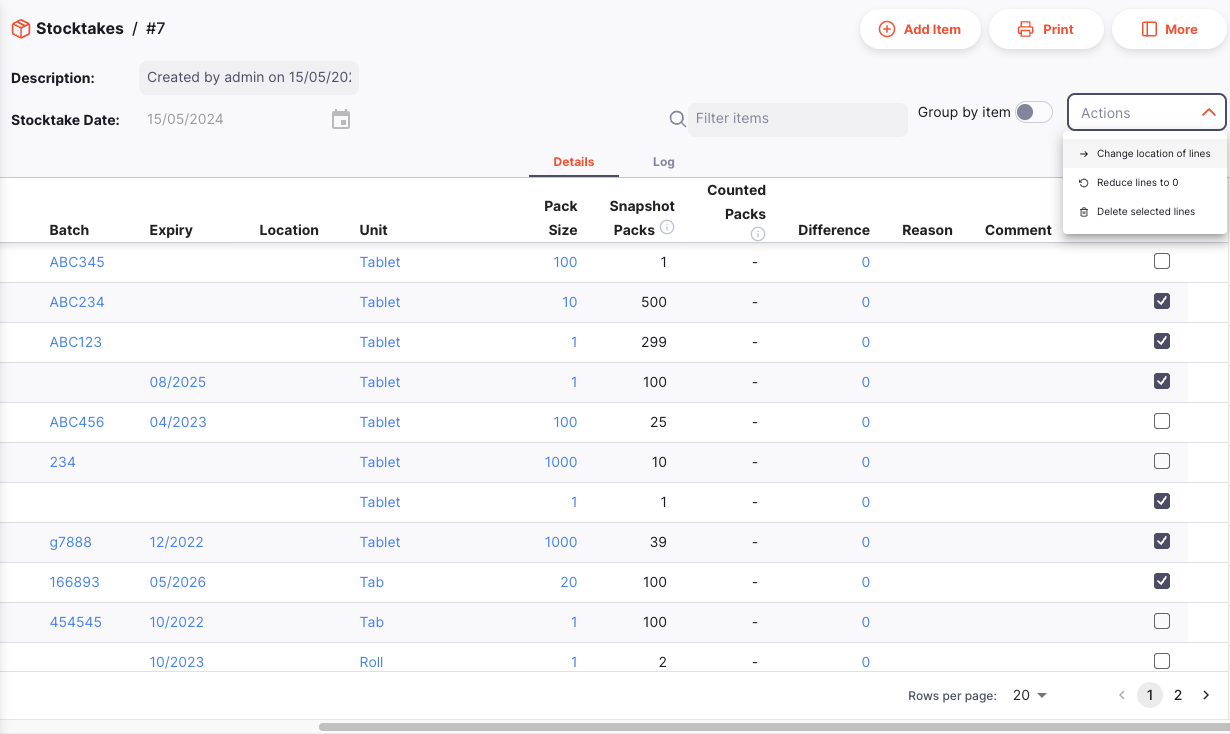
Bulk actions🔗
Sometimes you may want to make changes to many or all of the lines in your stocktake. Bulk actions are available for some of these changes.
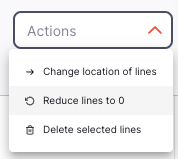
Change location🔗
Use the checkbox column to select the lines you wish to change the location for. Then select the Change location of lines option from the Actions dropdown.
This will bring up a window where you can select which location you would like to move the stock lines to:
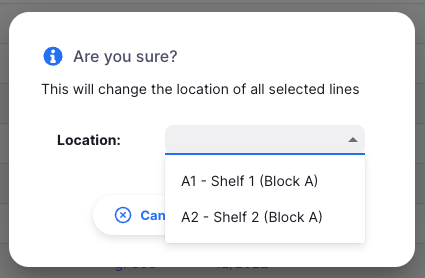
Select a location and press OK. All selected stock lines will now have an updated location.
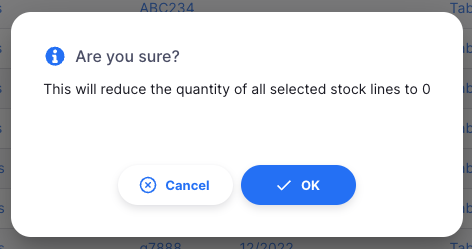
Reduce number of packs to 0🔗
Use the checkbox column to select the lines you wish to reduce to 0. Then select the Reduce lines to 0 option from the Actions dropdown.
This will bring up a confirmation popup:
If inventory adjustment reasons are configured from the central server, you will also be required to supply the reason for reducing the stock level:
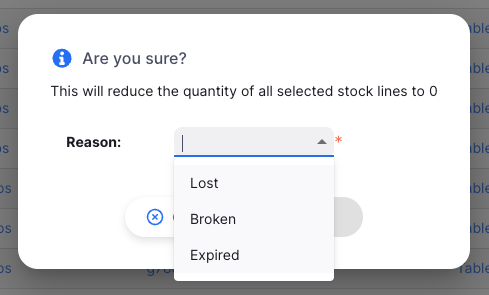
Select a reason and press OK. All selected stock lines will now have a Counted packs value of 0.
Deleting stocktake lines🔗
Use the checkbox column to select the lines you wish to delete. Then select the Delete selected lines option from the Actions dropdown.
This will bring up a confirmation popup:
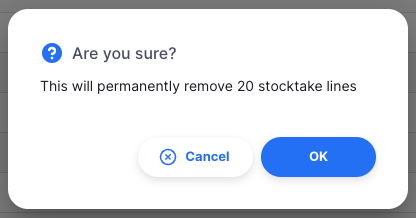
Once you press OK, the selected lines will be deleted from the stocktake.