Stock
One of the most important - but easiest - tasks in mSupply is to check how much stock you have on hand. When you create an Outbound Shipment and add an item, mSupply will tell you if you have enough stock. But at many other times, you might want to quickly check, and it is very simple to do so.
Viewing stock🔗
In the navigation panel, Go to Inventory and tap on the Stock submenu:
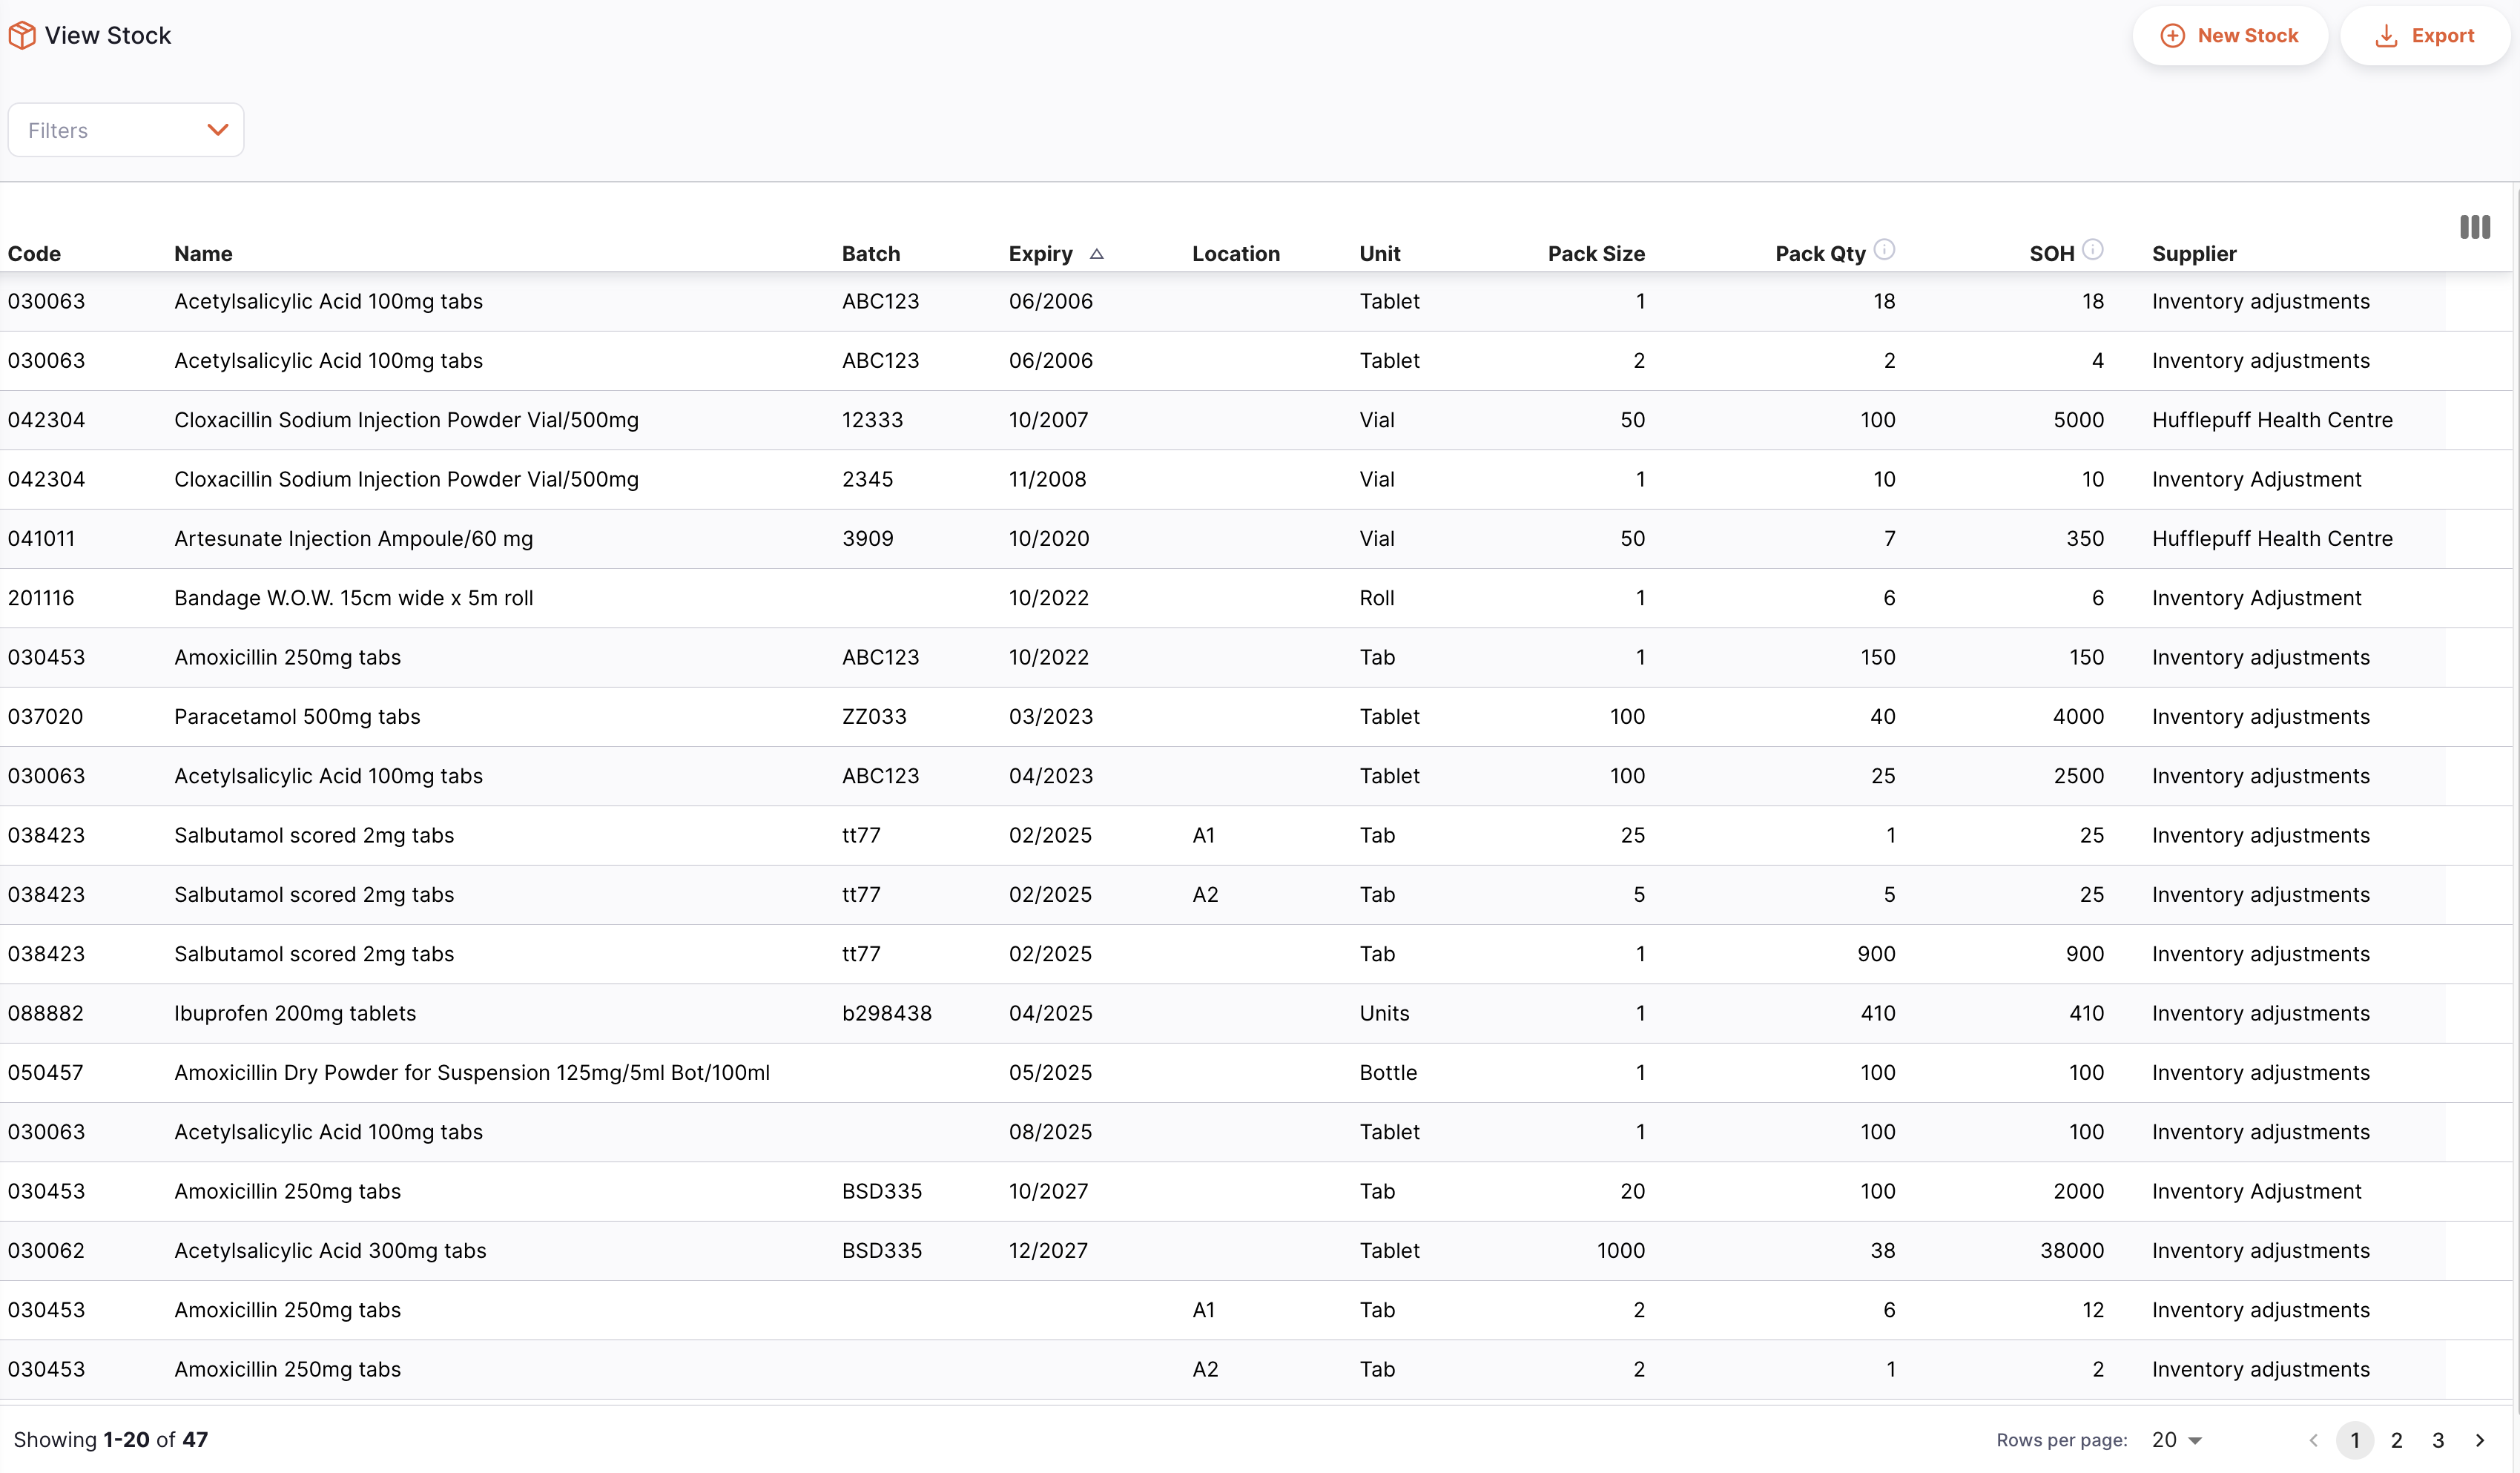
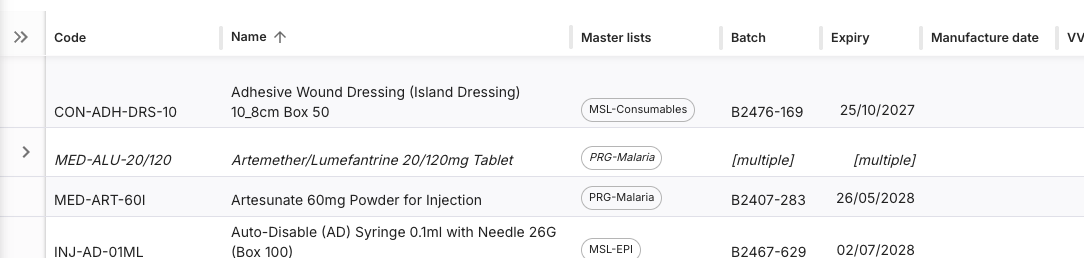
A detailed list of your inventory appears:
| Column | Description |
|---|---|
| Code | Code assigned to this item in mSupply |
| Name | This is the name by which mSupply will refer to the item |
| Master lists | Displays the name of all master lists which this item belongs to |
| Batch | Batch number of the stock line |
| Expiry | Expiry date of the batch. Note that the date shows in a red font if there is less than four months from now until the expiry date. |
| Manufacture date | The manufacture date of the batch |
| VVM Status* | Indicates the vaccine's viability. *Enabled via the Manage VVM status for stock store preference |
| Location | Where the item is being stored in your facility |
| Unit | The unit of measure for the item |
| Pack Size | The pack size of the item |
| Pack Qty | Total quantity of stock in your store, in packs |
| SOH | Total quantity of stock in your store, in units |
| Available stock | Available stock on hand (not allocated for distribution), in units |
| Pack cost price | Cost price per pack |
| Total | Total value of SOH (Pack qty x Pack cost) |
| Manufacturer | The manufacturer of this stock item. Automatically set when an item variant is selected, or can be manually entered |
| Supplier | Shows the source of this stock item |
Looking for a specific item🔗
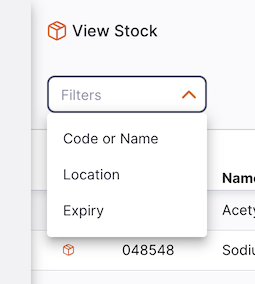
There are a number of available filters, to help you find the stock you are looking for. You can also use the search box to filter by item name, code or batch.
Group by item🔗
To reduce the number of rows displayed in the table you can click the Group by item button which is located at the top right of the table:
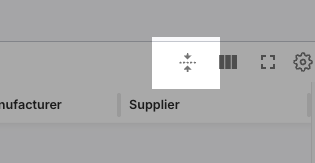
Doing so will group stock lines by the item, such as Artemether/Lumefantrine 20/120mg Tablet in this example:
Exporting Stock🔗
The list of Stock can be exported to a comma separated file (csv). Simply click the export button (on the right, at the top of the page) to download the file:
The export function will download all stock lines, not just the current page, if you have more than 20 of them.
Non standard items🔗
What happens if a supplier sends you stock of an item which is not currently visible in your store?
In this case the following happens:
- The stock line for this item appears in your store and is visible in the Stock list
- The item now shows in your item list
- You are able to issue that stock in an outbound shipment or prescription
Note that the item will only show while you have stock on hand for it, so if you issue all of the stock it will no longer appear in your item list.
You also cannot order more of this item - it cannot be added the item to a manual inbound shipment or an internal order.
Creating a new stock line (positive adjustment)🔗
To create a new stock line (i.e., positive adjustement), click the New Stock button in the top right of your screen.
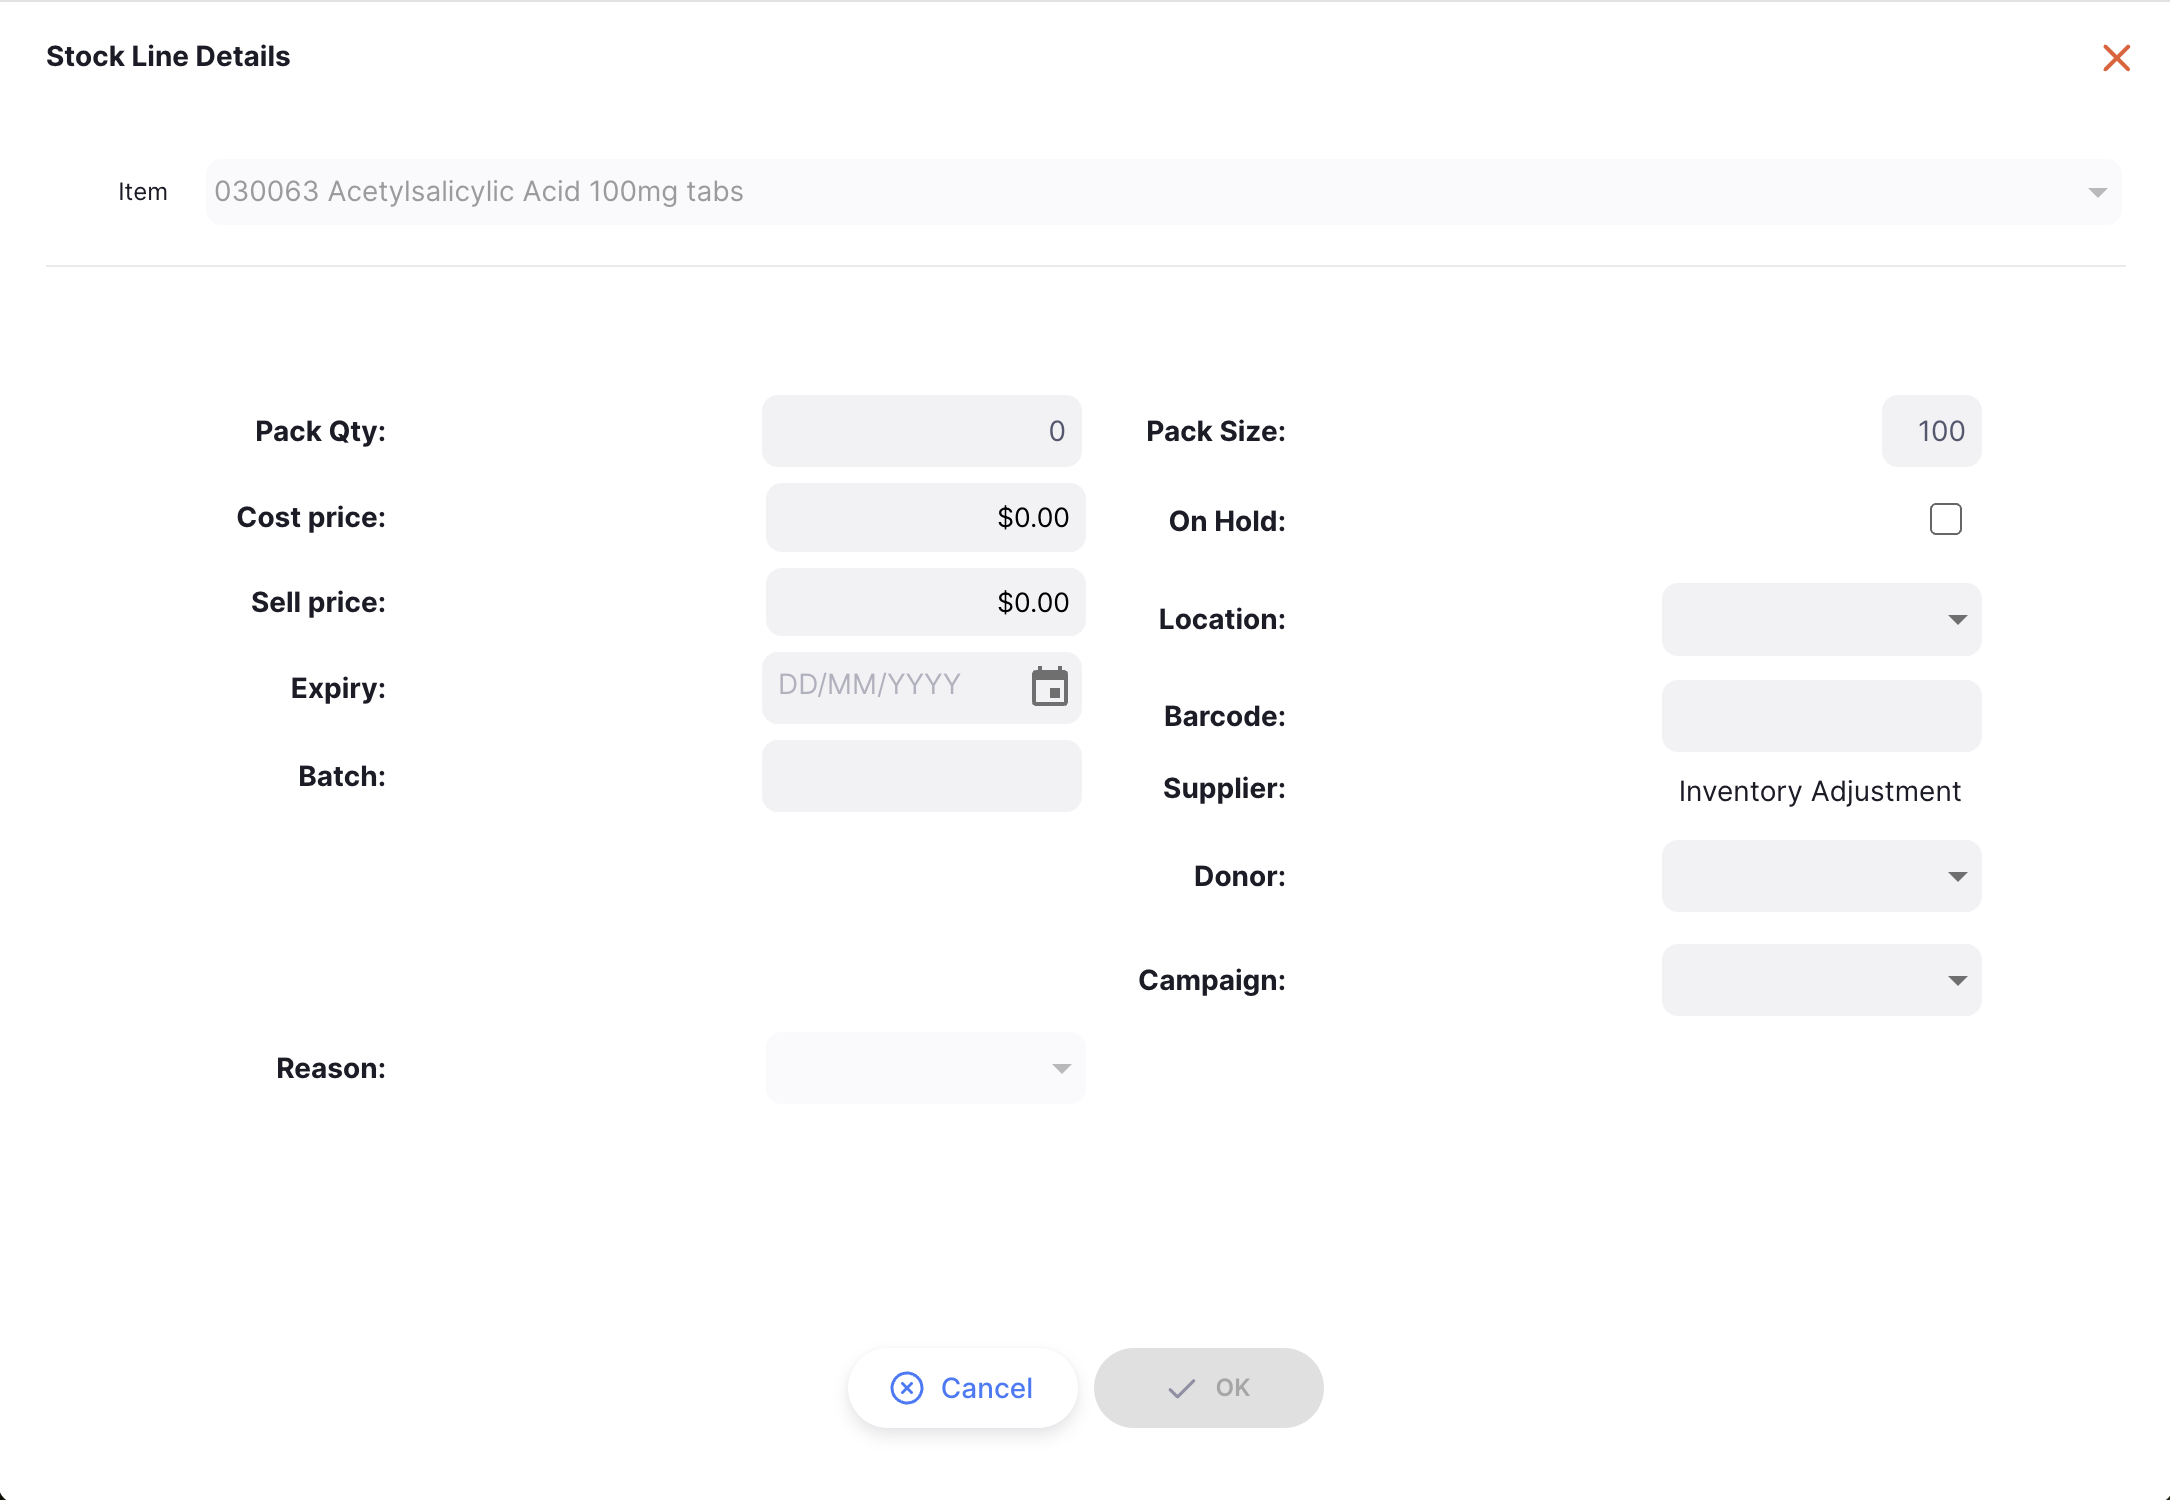
The Stock Line Details window will appear, where you can select the item you are creating this new stock line for.
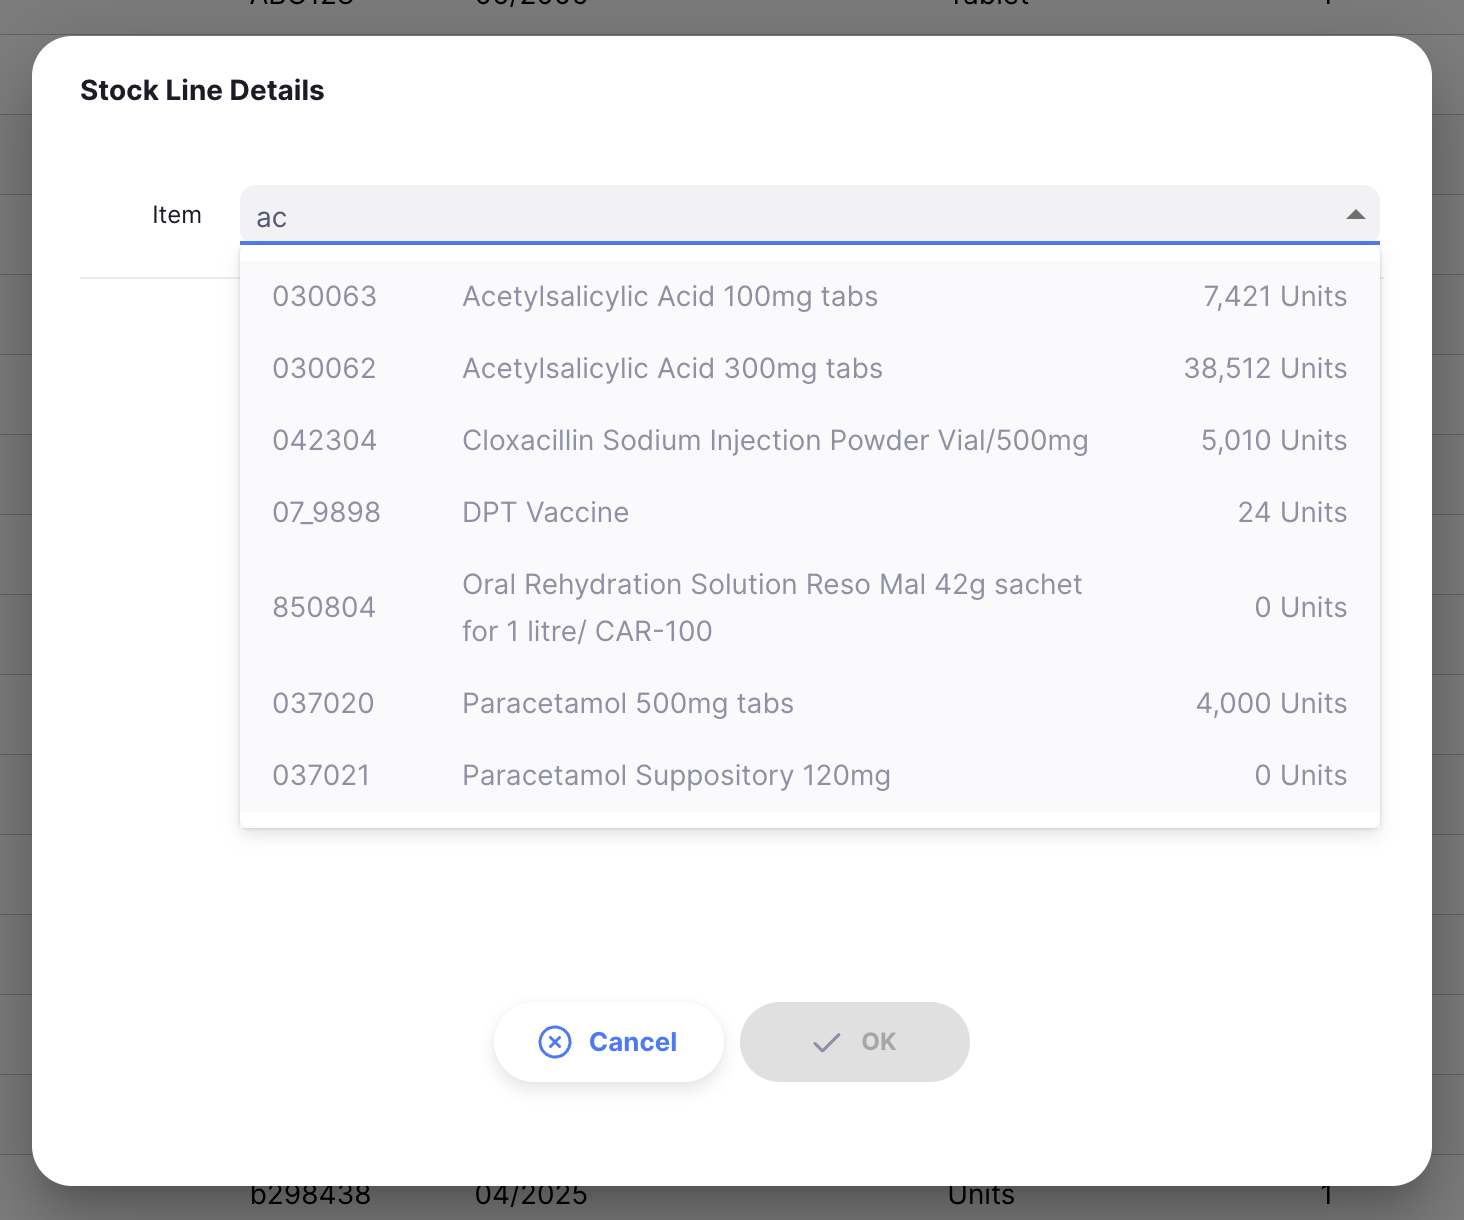
You can look up an item by:
- Reading through the list of available items
- Typing some or all of the item name
- Typing some or all of an item code
Click on the name, or use the arrow keys to navigate to your desired item and press Enter.
After selecting an item, you can enter the information for this new stock line. You must at least provide a pack quantity and pack size.
See the Campaigns page for details of how to configure campaigns.
Pack size and Sell price will default to the value specified by the Preferred pack size and Default sell price of preferred pack size if they have been specified for the current item.There are some fields which only show if enabled:
Reasons🔗
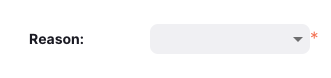
If you have inventory adjustment reasons configured on your mSupply central server, then you are also required to enter a reason when creating a new stock line.
If this is the case, the reason input will be enabled as below:
Item Variant🔗
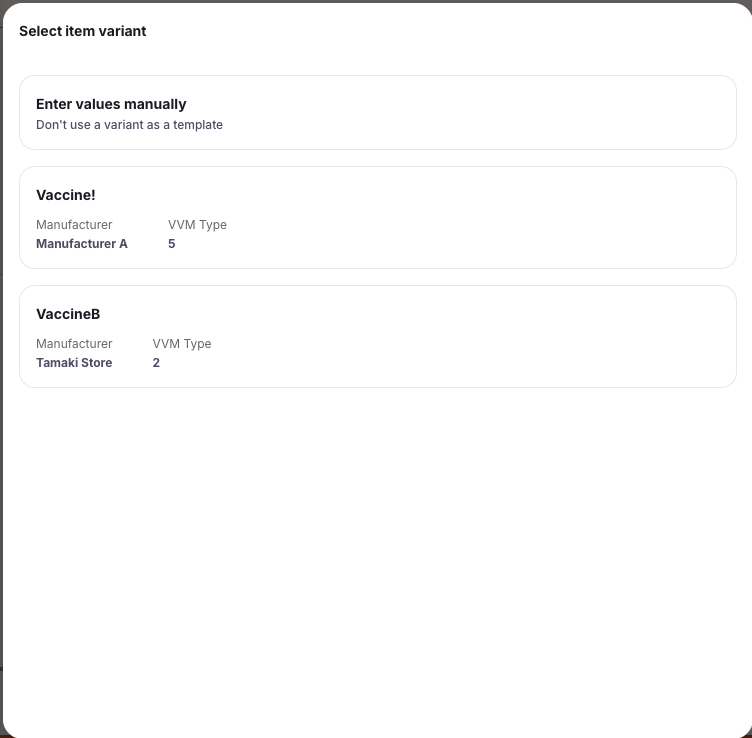
Item Variants will be available for selection if they are configured in your system. When selecting a variant, a slide-out panel displays the available variants as clickable cards showing the variant name, manufacturer, and VVM type (for vaccines). You can also choose Manual input to enter details manually.
Item variants include packaging information - if your new stock line has a
matching pack size, the Volume per pack field will be automatically populated.
Manufacturer🔗
You can view and edit the manufacturer for a stock line. The manufacturer is shown as a read-only column in the stock list, and can be edited from the stock line detail view. If an item variant is selected, the manufacturer will be automatically set from the variant. Otherwise, you can manually enter a manufacturer.
Volume per pack🔗
Specify the volume of a single pack in cubic metres. This is used to calculate the available storage space when stock is stored in a location. Note that you will need to also record the volume of the location in order to see the remaining capacity of the location.
The Total volume field below shows you the calculated value of the volume used by this stock line, which is the volume per pack * the number of packs (Pack Qty),
Donor🔗
If the Allow tracking of stock by donor global preference is enabled then you can allocate a donor to this stock line.
Doses🔗
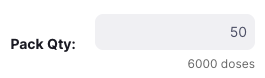
If the Manage vaccines in doses store preference is enabled, you'll see a total doses field beneath any pack quantity fields when working with Vaccine items.
Once you are happy with the batch information, click OK. This will save your new stock line by creating an Inventory Adjustment. You will be redirected to the Stock line details page.
Viewing stock line details🔗
To view the details on a specific batch, click that line from the Stock list view. You will be redirected to the Stock details page.
Details tab🔗
On the main Details tab, you can view and change the properties of this batch.

Once you are happy with your changes, press the Save button in the bottom right. You can also use the Cancel button to reset your changes.
You'll note that you can't edit Pack Qty or Pack Size from this view. You can do this via Repacks and Adjustments.
Hold checkbox: To hold a stock line, check the Hold check-box. Once an stock line is held, it cannot be issued. It will still be included when calculating available stock, but held stock lines are unavailable for issue in both outbound shipments and prescriptions.
Updating barcode🔗
This feature is available when running either the android or desktop versions of Open mSupply. There is an additional button shown when editing a stock line:
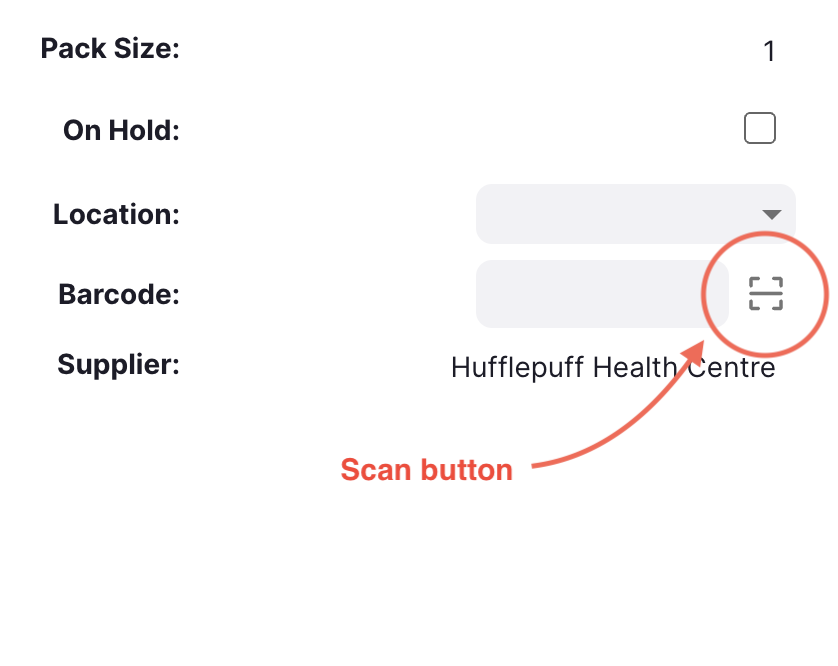
Clicking this will start the barcode scanner - if one is attached, when running desktop. If running on android, the camera on the device is used. If a barcode is scanned successfully, then the barcode field is populated with the scanned value. If a QR code which has a batch and expiry information is scanned, then these fields on the stock edit window are also populated from the scanned code.
Once you have updated the barcode, this code is associated with the item, for this particular pack size. This item will now be automatically detected when adding items to an Outbound Shipment using a barcode scanner.
Barcodes updated in this way will also synchronised with other stores, which means that codes you scan here will allow other stores to automatically add these items to Outbound Shipments using a barcode scanner.
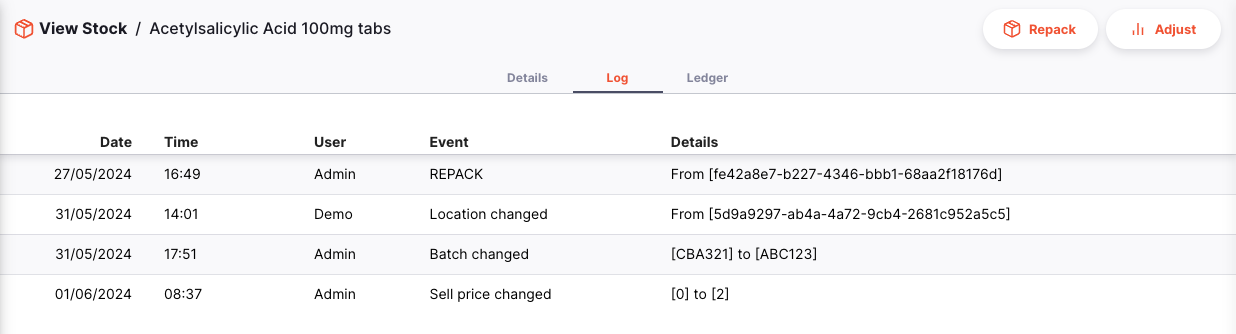
Log tab🔗
To see changes made to this stock line, you can click the Log tab. The list shows details of each change, along with the date and time of the change and the user that made the change.
Ledger tab🔗
The Log tab shows changes relating to the batch, such as changes in location or pricing. The Ledger tab shows the stock movements for a particular stock line. These could be the result of Inbound/Outbound Shipments, Returns, Repacks or Inventory Adjustments.

VVM History tab🔗
When viewing a stock line for a vaccine item you will see, in addition to the tabs listed above, a tab labelled VVM History. Here you can view the list of VVM status entries for this stock line.
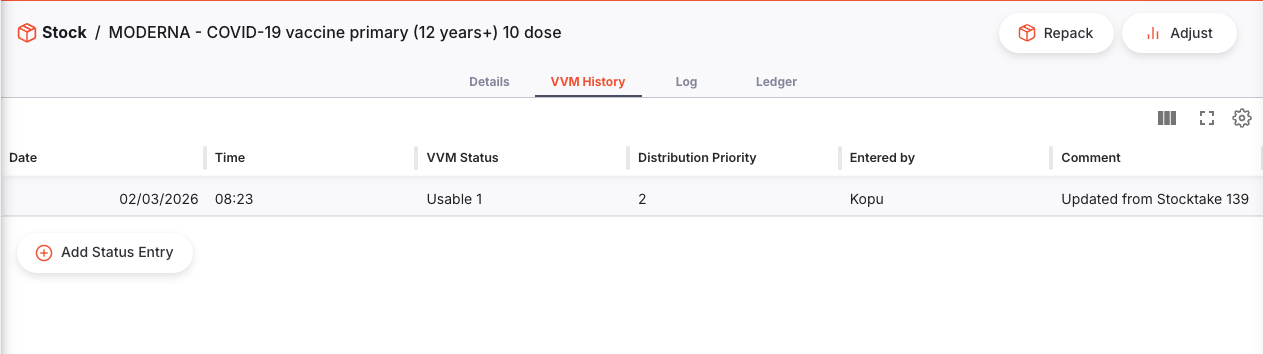
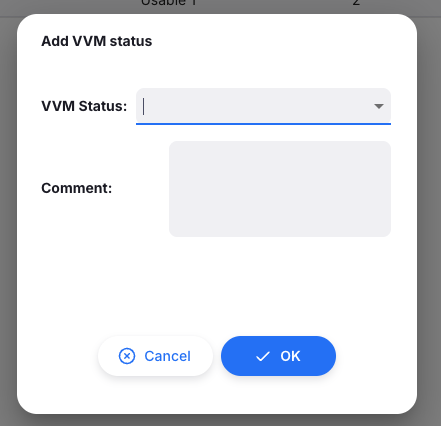
To update the VVM status of this stock click on the Add status entry button. A window is opened which allows you to choose the status level and optionally enter a comment.
Repacking stock🔗
The repack feature gives us the ability to break down stock into smaller pack sizes, consolidate it into larger pack sizes or move part or all of a stock line to a new location.
In the top right corner of the stock line detail page, click the Repack button.
To begin with, the stock line won't have any repacks showing, so you'll see a window like this:
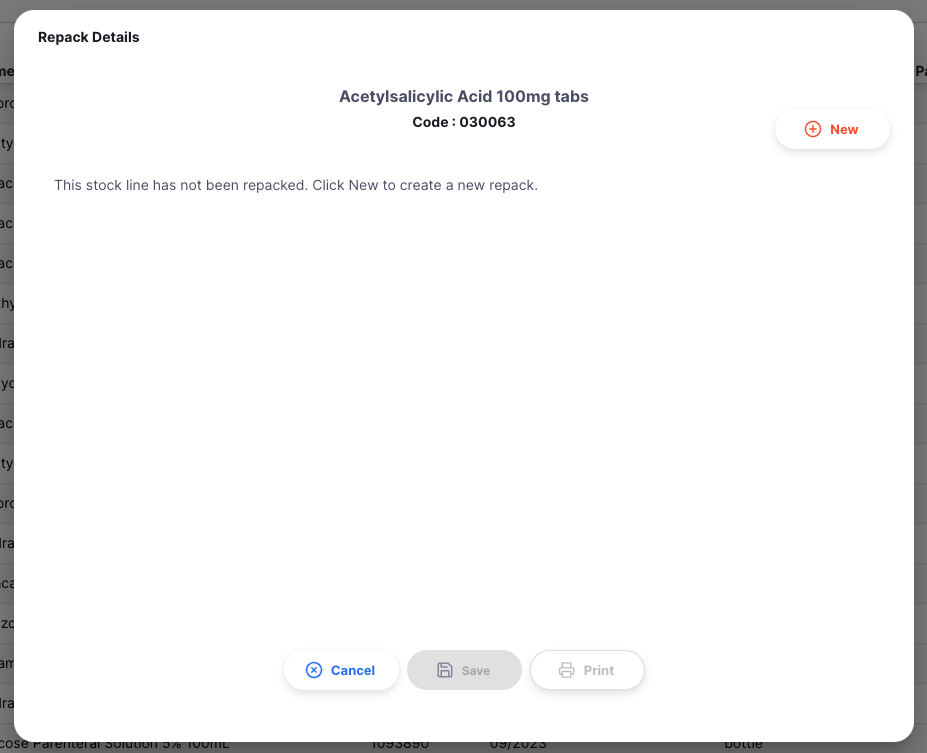
Click the New button to start a repack:

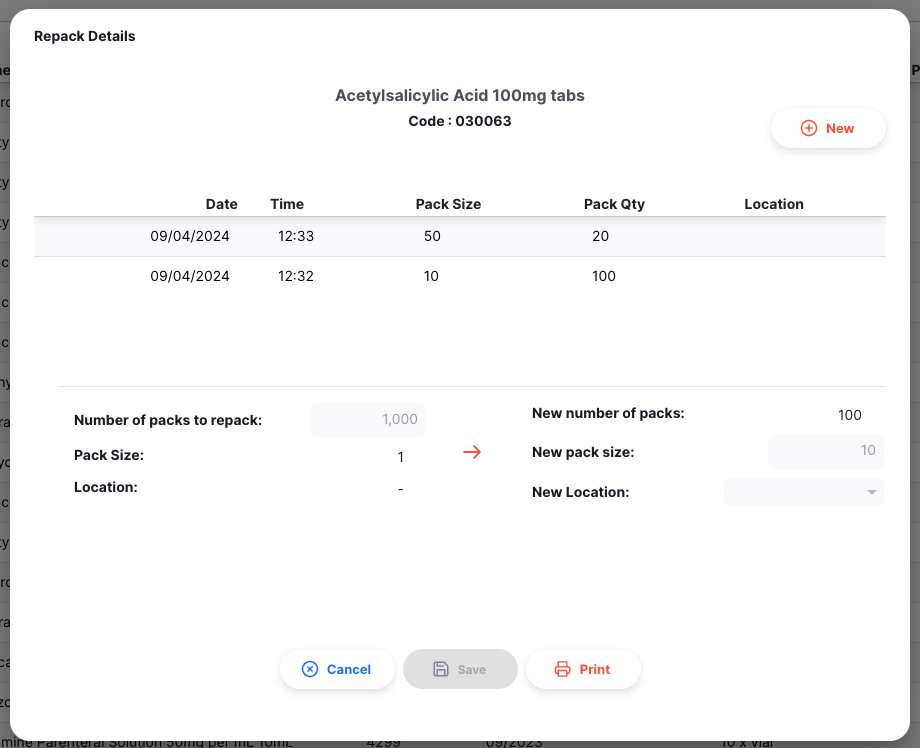
From here, you can enter the number of packs which you'd like to repack, up to a maximum of the current number of packs in stock (represented by the number next to Packs available) - in this case there are 5779 packs available.
You can then enter a new pack size, and optionally, enter a location for the new stock. The New number of packs is calculated automatically.
Click Save to save the changes. Clicking Print will allow you to print details of this repack action.
The repacks made from this stock item are shown in a list:
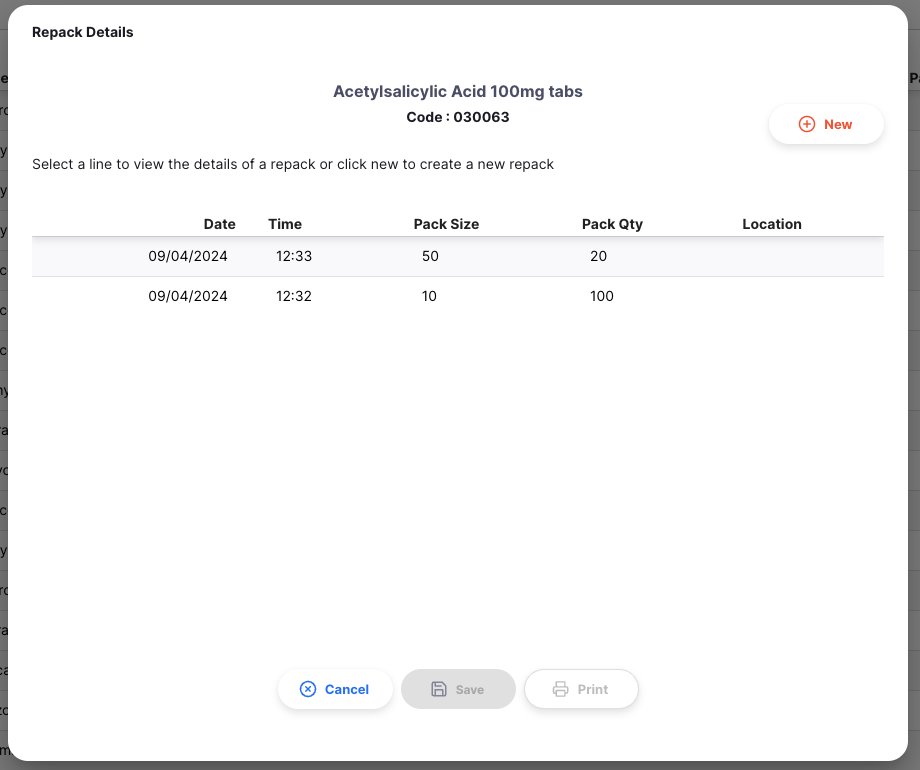
Clicking on one of the lines will show details of the repack, and allow printing of it:
Click the Cancel button at any time to close the repack modal.
Adjusting stock level🔗
The Adjust feature gives us the ability to increase or decrease the stock level of a single batch, without needing to go through the full stocktake process.
In the top right corner of the stock line detail page, click the Adjust button.
A new window will open, where you can enter whether you would like to increase or decrease the quantity of packs, and by how many.

If you have inventory adjustment reasons configured in your central server, then you are also required to enter a reason when adjusting the pack quantity.
If this is the case, the reason input will be enabled as below:
When you are ready to adjust the stock level, click the OK button. You will then see your updated pack quantity in the Details tab, and can review the adjustment in the Ledger tab.
Click the Cancel button at any time to close the adjust modal.
Reason Types🔗
There are several reason types configurable in mSupply. You'll have different options available depending on the type of adjustment you are making, and the type of item.
| Adjustment | Item | Facility Type | Reason types |
|---|---|---|---|
| Inventory addition | Vaccine or non-vaccine | Store or Dispensary | Positive Inventory Adjustment |
| Inventory reduction | Non-vaccine | Store or Dispensary | Negative Inventory adjustment |
| Vaccine | Store | Closed Vial Wastage | |
| Dispensary | Closed Vial Wastage and Open Vial Wastage |