Patient Programs
View and Manage Patient Programs
You can manage Patients by programs in Open mSupply. This involves some special settings. Please see Patients for more information on how to view and create patients.
To use Patient Programs, ensure that your store is set to Dispensary mode (see the virtual stores documentation for how to do this).
You will also need to enable the store preference for Open mSupply: Uses program module.
This preference is compatible with Open mSupply v1.2.0+ and mSupply v7-07-00-beta9+.

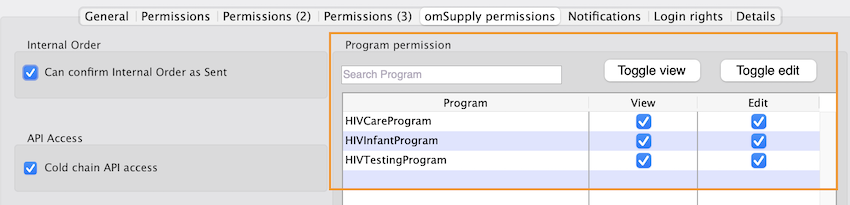
You will also need to enable the user permissions shown below on the central server:
Patients List
A new column named Program Enrolments will be added to the patient list to show the programs that the patient is enrolled in if the patient programs module has been enabled.

Viewing a Patient
There are four tabs on the patient detail page:
- Patient Details: This tab contains the patient details.
The patient detail page will look very different from the standard patient detail page. This view is highly customisable and can be tailored to specific needs. Please contact your administrator if you would like to customise this view.
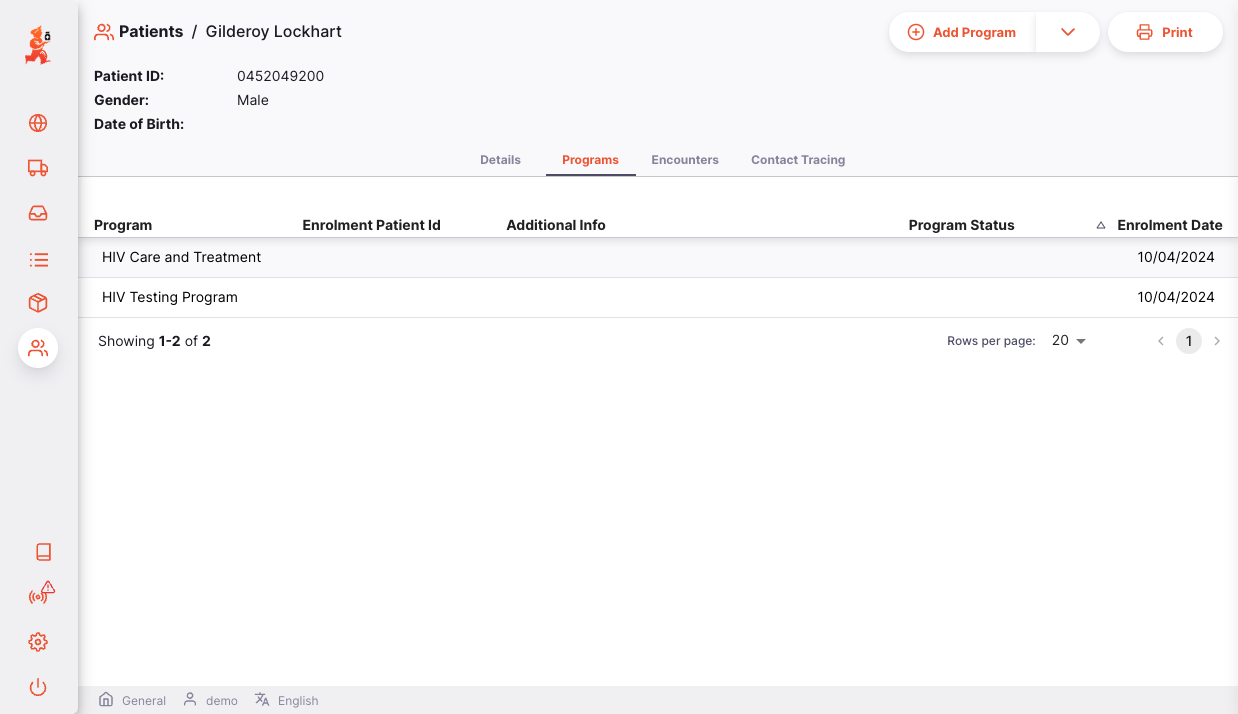
- Programs: This tab contains the programs that the patient is enrolled in.
Clicking on a program will take you to the patient's program enrolment details. See Program Enrolment for more information.
This program tab will display 5 columns:
| Column | Description |
|---|---|
| Program | The name of the program |
| Enrolment Patient ID | The patient's program ID |
| Additional Info | Displays program specific information. E.g. LTFU lost to follow up |
| Program Status | The status of the program |
| Enrolment Date | The date the patient was enrolled in the program |
- Encounters: This tab contains the encounters that the patient has had.
Clicking on an encounter will take you to the encounter details. See Encounter for more information.
This encounters tab will display 6 columns:
| Column | Description |
|---|---|
| Type | The encounter type |
| Program | The program the encounter is associated with |
| Date | The date of the encounter appointment |
| Start | The start time of the encounter appointment |
| End | The end time of the encounter appointment |
| Additional Info | Displays additional information about the encounter. E.g. Encounter Scheduled means that the appointment for this encounter has been scheduled. |

- Contact Tracing: This tab contains the contact tracing information for the patient.
Clicking on a contact will take you to the contact details. See Contact Tracing for more information.
This contact tracing tab will display 7 columns:
| Column | Description |
|---|---|
| Program | The name of the program this contact is associated with |
| Date Created | The date the contact was created |
| First name | First name of the contact |
| Last name | Last name of the contact |
| Gender | Gender of the contact |
| Relationship | The relationship of the contact to the patient |
| Age | The age of the contact |

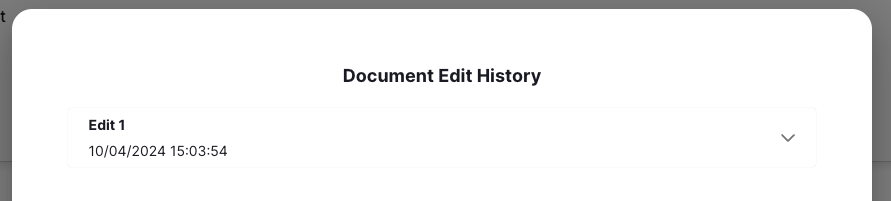
There is also a History button on the bottom left corner of the patient detail page. Clicking on this button will show you a simple history of changes made to the patient record.
Program
Patients can be enrolled in a program that is relevant to their health condition. A patient can be enrolled in multiple programs.
Enrolling a Patient in a Program
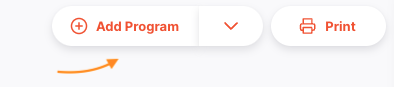
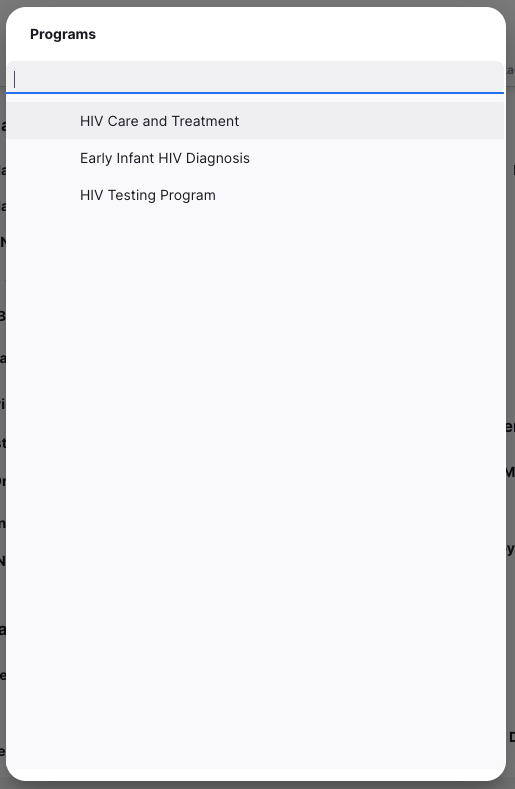
To enrol a patient in a program, click on the Add Program button in the top right corner of the screen or click the down arrow next to the button and select Add Program if the button does not say Add Program. A new window will appear for you to select the program you want to enrol the patient in. Programs that the patient is already enrolled in will be greyed out.
After selecting the program, another window will appear for you to enter program specific information.
Encounter
An Encounter is a recorded visit of the patient and their treatment under a specific program.
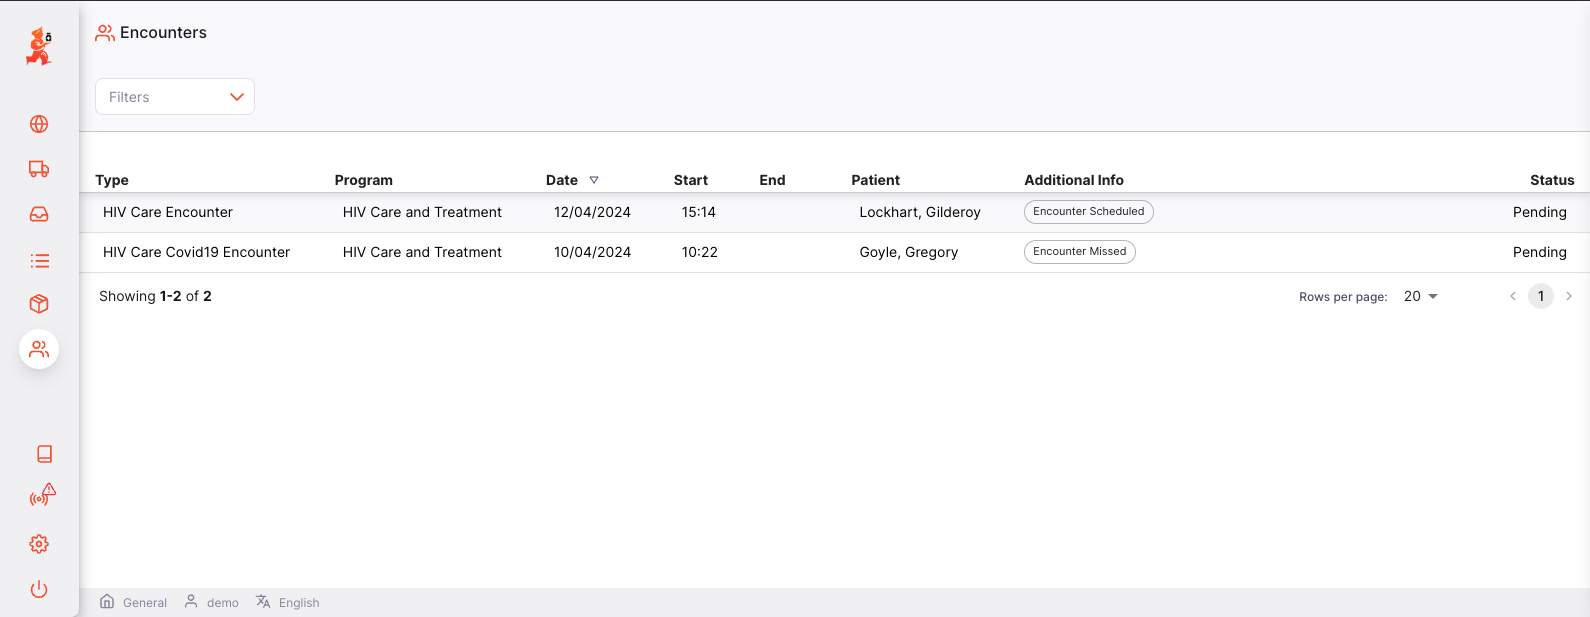
Viewing the Encounter List
Go to Dispensary > Encounters to view the list of encounters.
The list of encounters is divided into 8 columns:
| Column | Description |
|---|---|
| Type | The encounter type |
| Program | The program the encounter is associated with |
| Date | The date of the encounter appointment |
| Start | The start time of the encounter appointment |
| End | The end time of the encounter appointment |
| Patient | The patient the encounter is associated with |
| Additional Info | Displays additional information about the encounter. E.g. Encounter Scheduled means that the appointment for this encounter has been scheduled. |
| Status | The status of the encounter |
Clicking on an encounter will take you to the encounter details.
Add an Encounter
To add an Encounter for the patient, click the Add Encounter button on the top right corner of the screen. Click on the down arrow next to the button and select Add Encounter if the button does not say Add Encounter.
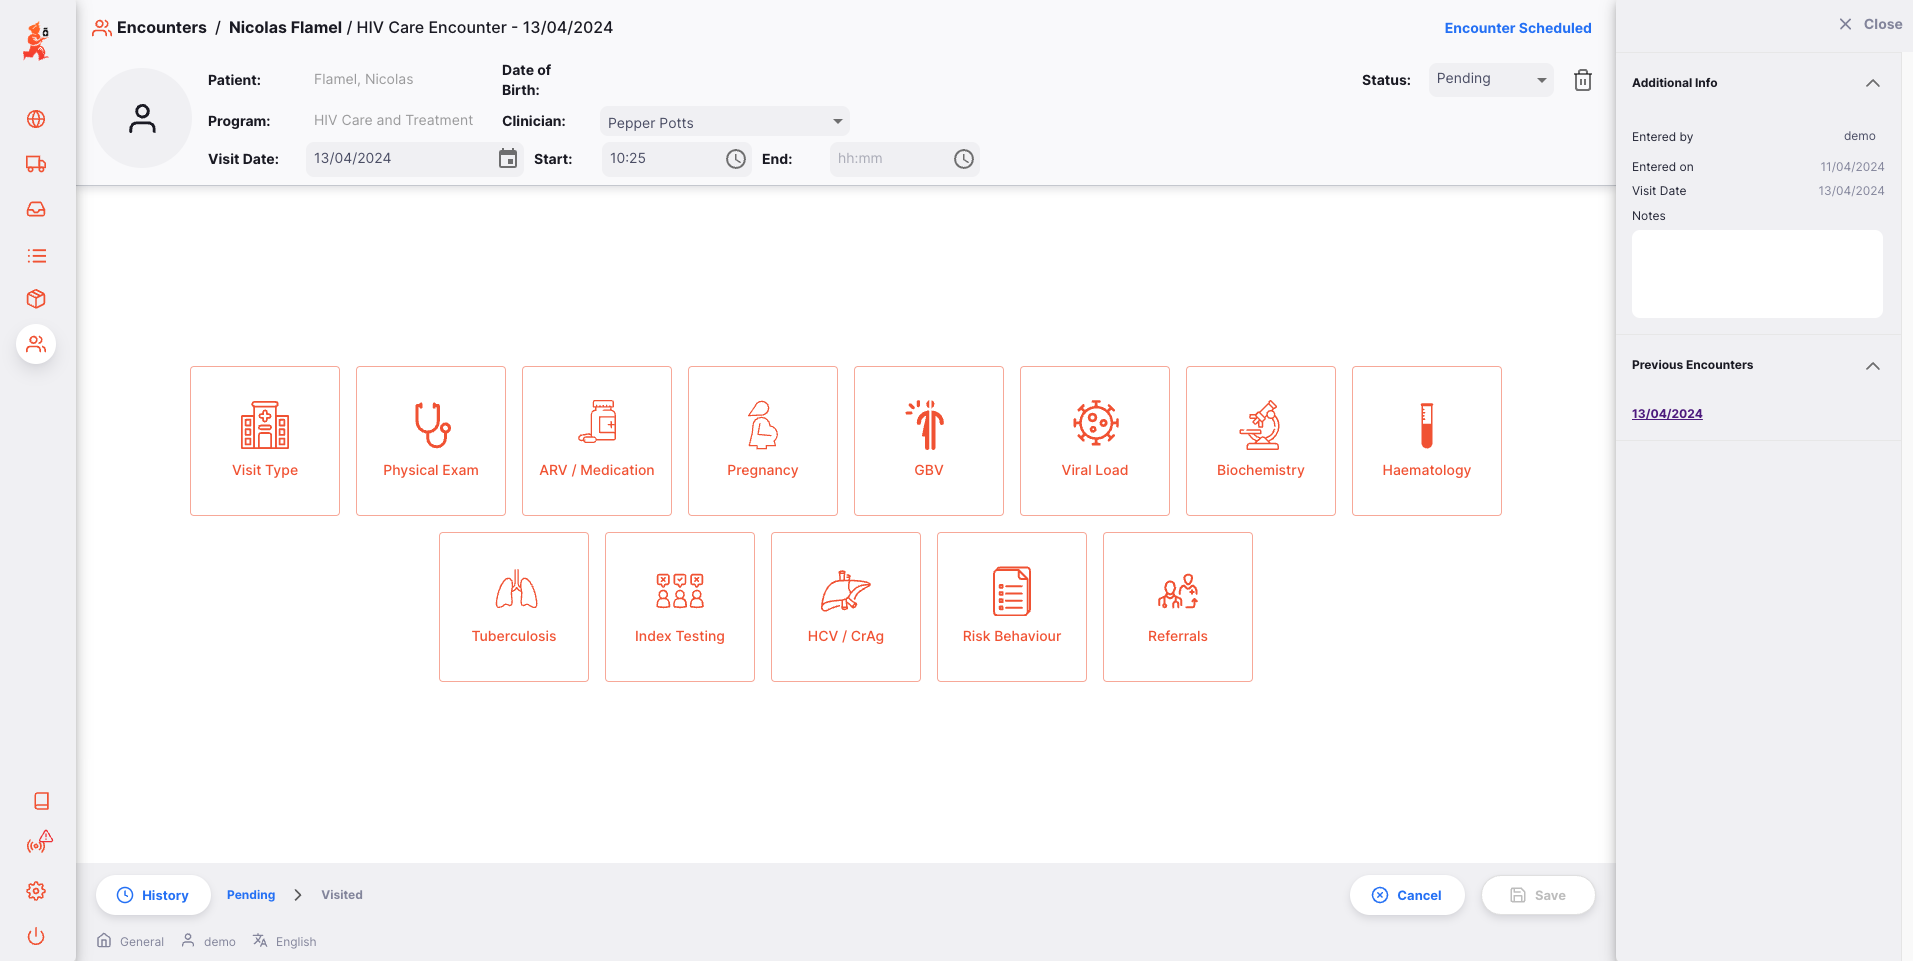
A window will open for you to select the encounter (this selection will vary depending on what programs the patient is enrolled in), visit date, clinician and add notes for this encounter.
If the encounter is within the last hour, then you will be re-directed to the encounter page, otherwise, you will be re-directed to the encounter tab in the patient detail view.
Every encounter document will look differently, however there are some common features:
- The top of every encounter will contain common encounter details. Some of these details may be editable like Clinician and Visit Date and Time.
An encounter can have three statuses:
- Pending: The encounter has been scheduled but not yet completed.
- Visited: The encounter has been completed.
- Cancelled: The encounter has been cancelled.

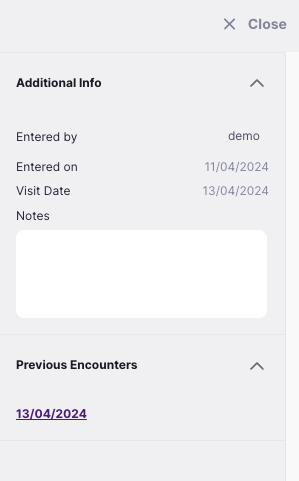
- The side panel (opened by clicking
Moreon the top right corner) will contain additional information such as previous encounters.
Contact tracing
Contact tracing is the process of identifying people who might have been exposed to a disease through the patient. The contact can then be contacted, registered and enrolled into a matching program if needed.
Add a Contact
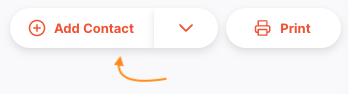
To add a contact for a patient, click the Add Contact button on the top right corner of the screen. Click on the down arrow next to the button and select Add Contact if the button does not say Add Contact.
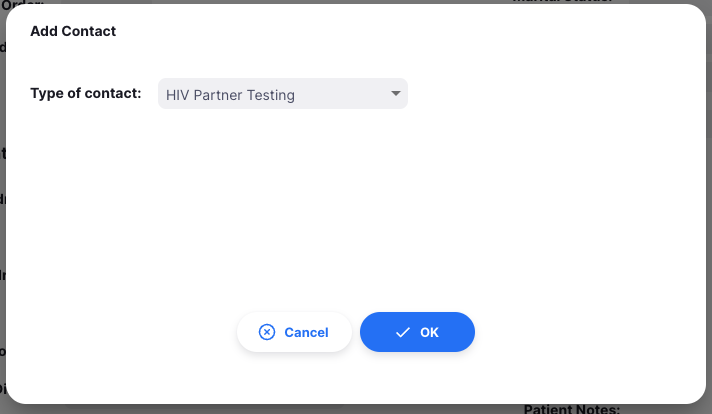
A window will open, inviting you to select the type of contact you want to add. Currently, only HIV Partner Testing is available. Click Ok to proceed.
Edit a Contact

Linking a Contact to a Patient
Once a contact has been added to mSupply, they can then be linked to patient who came into contact with them. Do this by clicking the Link to Patient button on the top right of the screen.

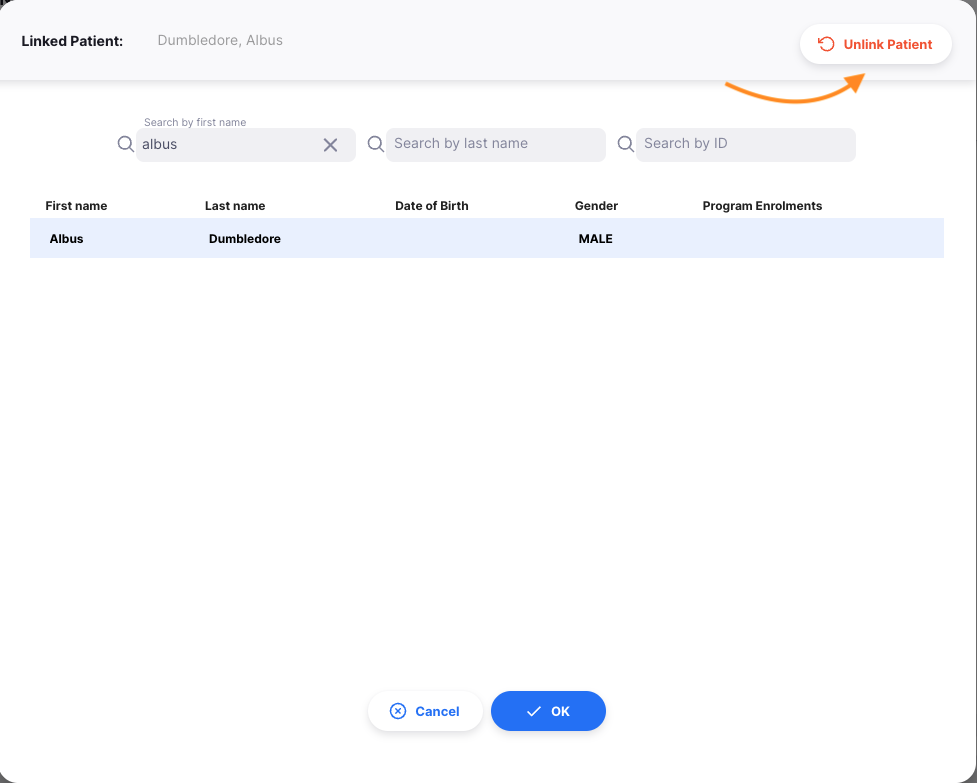
This will open a search window where you can search for the patient you want by their first name, last name or patient ID. Once you have found the patient, click on the patient to link them to the contact.
If the patient is already linked to the contact, but you want to change the patient because you linked the wrong patient, click the Unlink Patient button on the top right of the screen.